Guide to your client’s journey through the verification process using the Credas app
This journey applies when the option to initiate ‘Biometric Identity Check for Companies House - Option 1’ is selected in the wizard.
Your client will receive an email/SMS providing them with a link to complete the biometric identity check and a personal registration code. Selecting ‘Start your biometric Identity Check’ will start the check
-
Email:

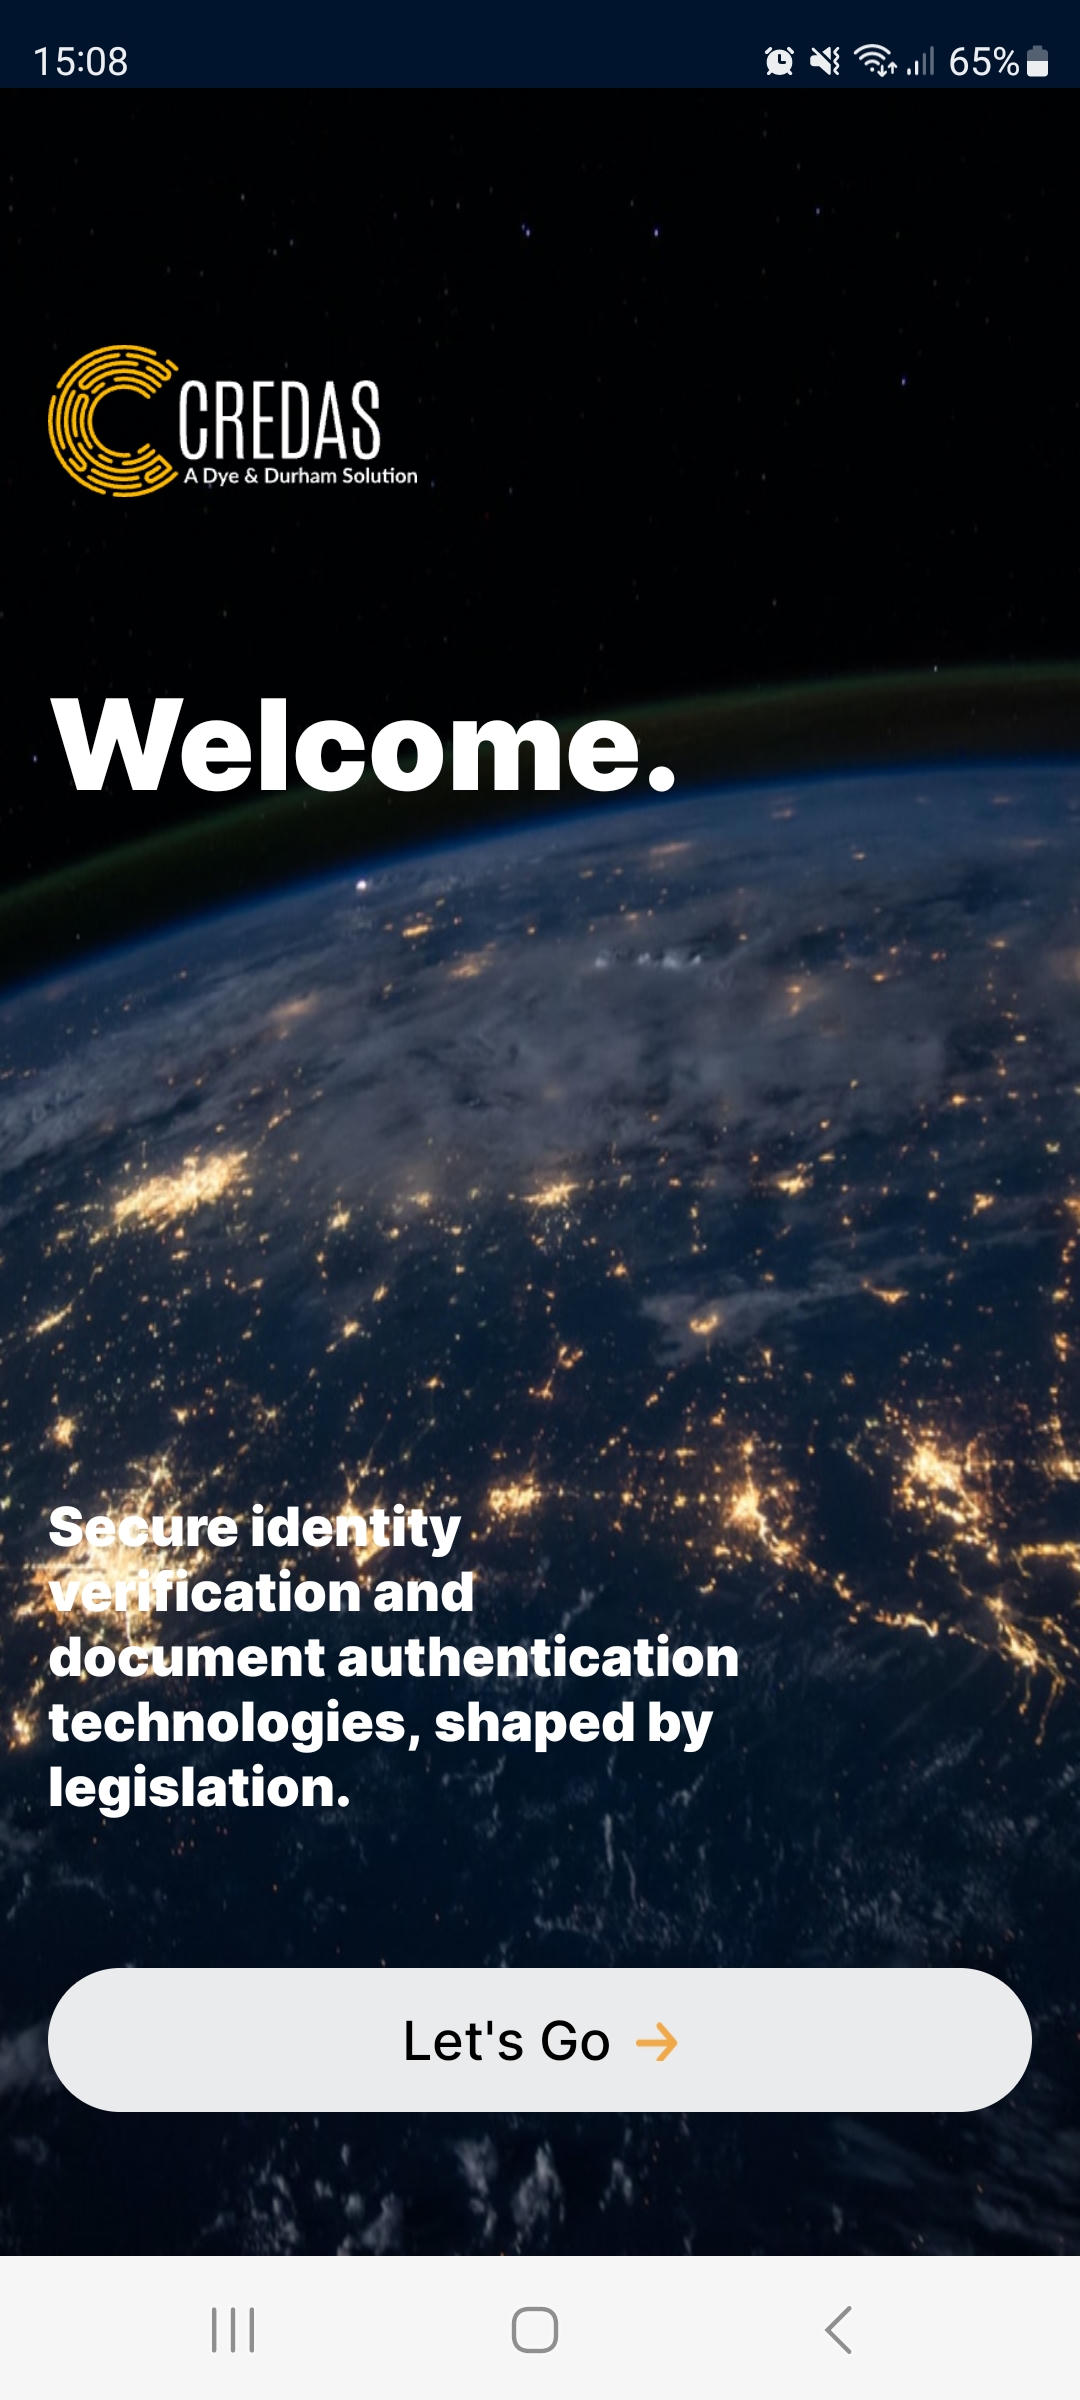
- The link will open a secure page in the default browser:

- In the next step your client will be able to download the Credas app for iOS or Android:

- Once the user has downloaded and opened the app, they have to follow on screen instructions to complete the check in the app:
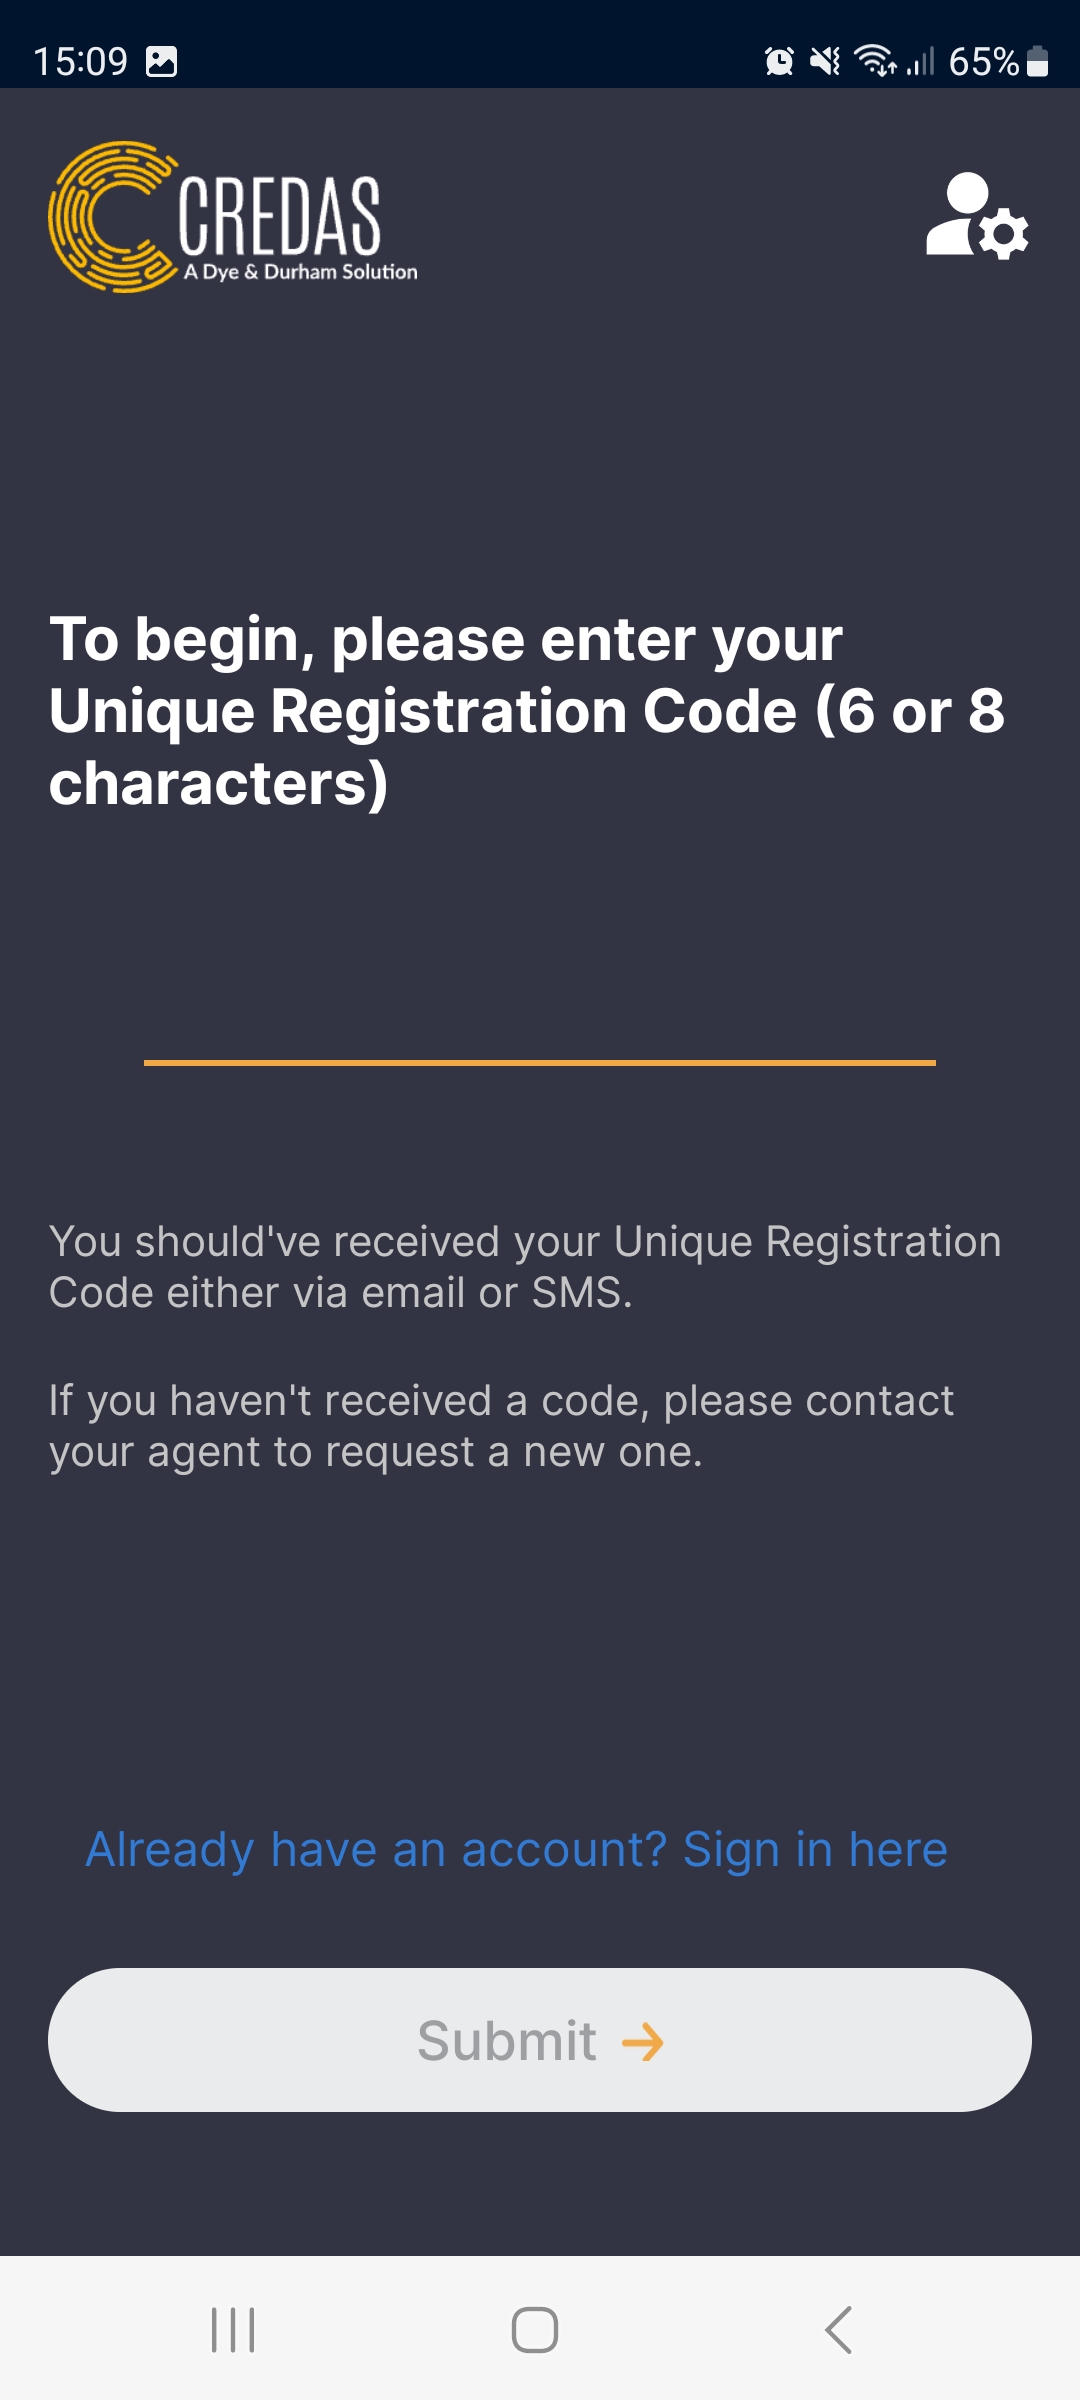
- The app will ask your client to enter the registration code received in the email and/or SMS:
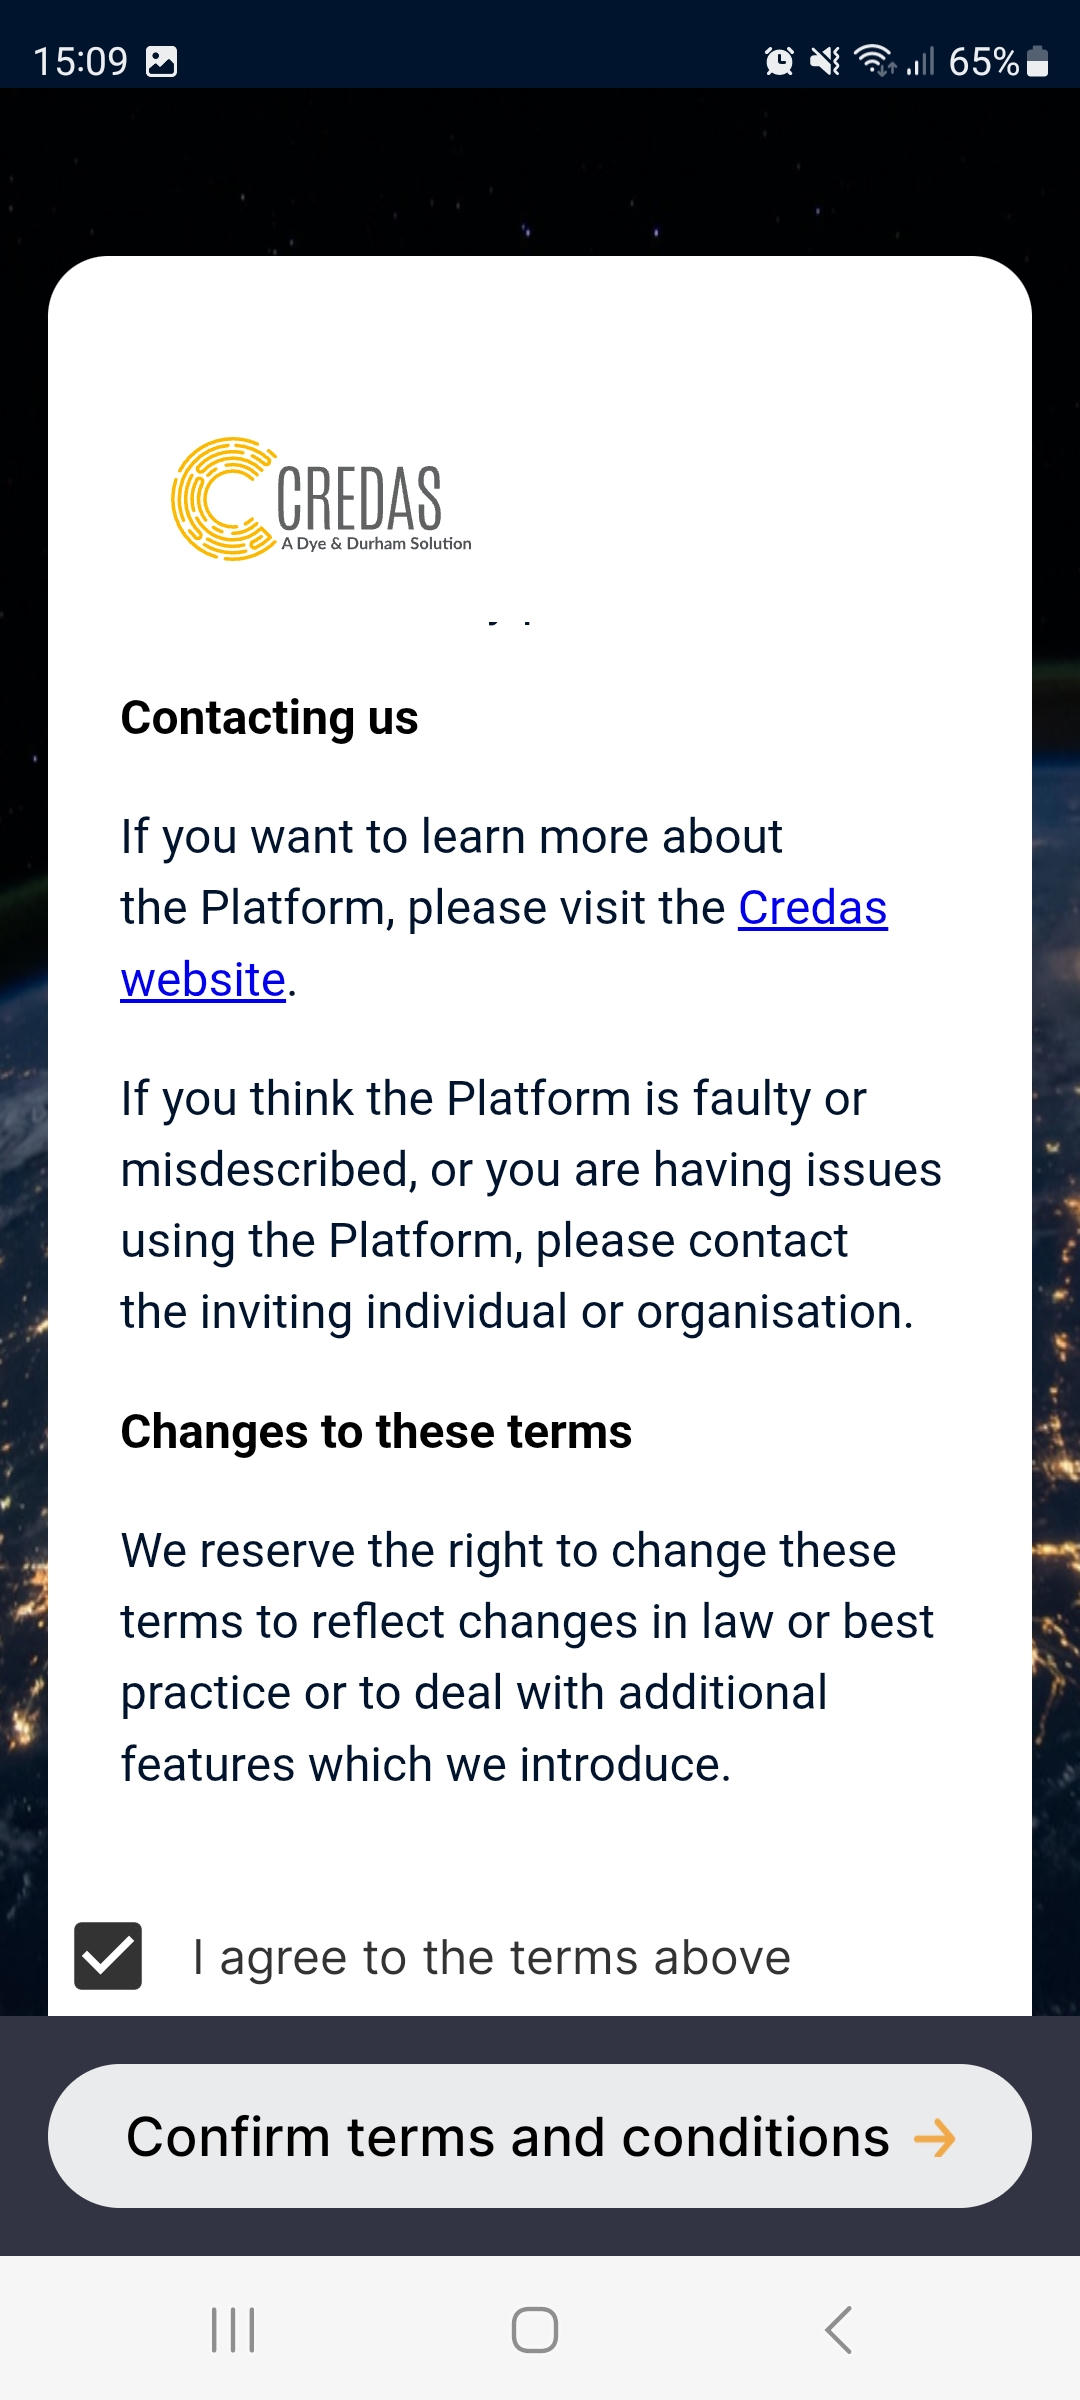
- In the next step your client has to read through and accept the Credas Platform terms and conditions:

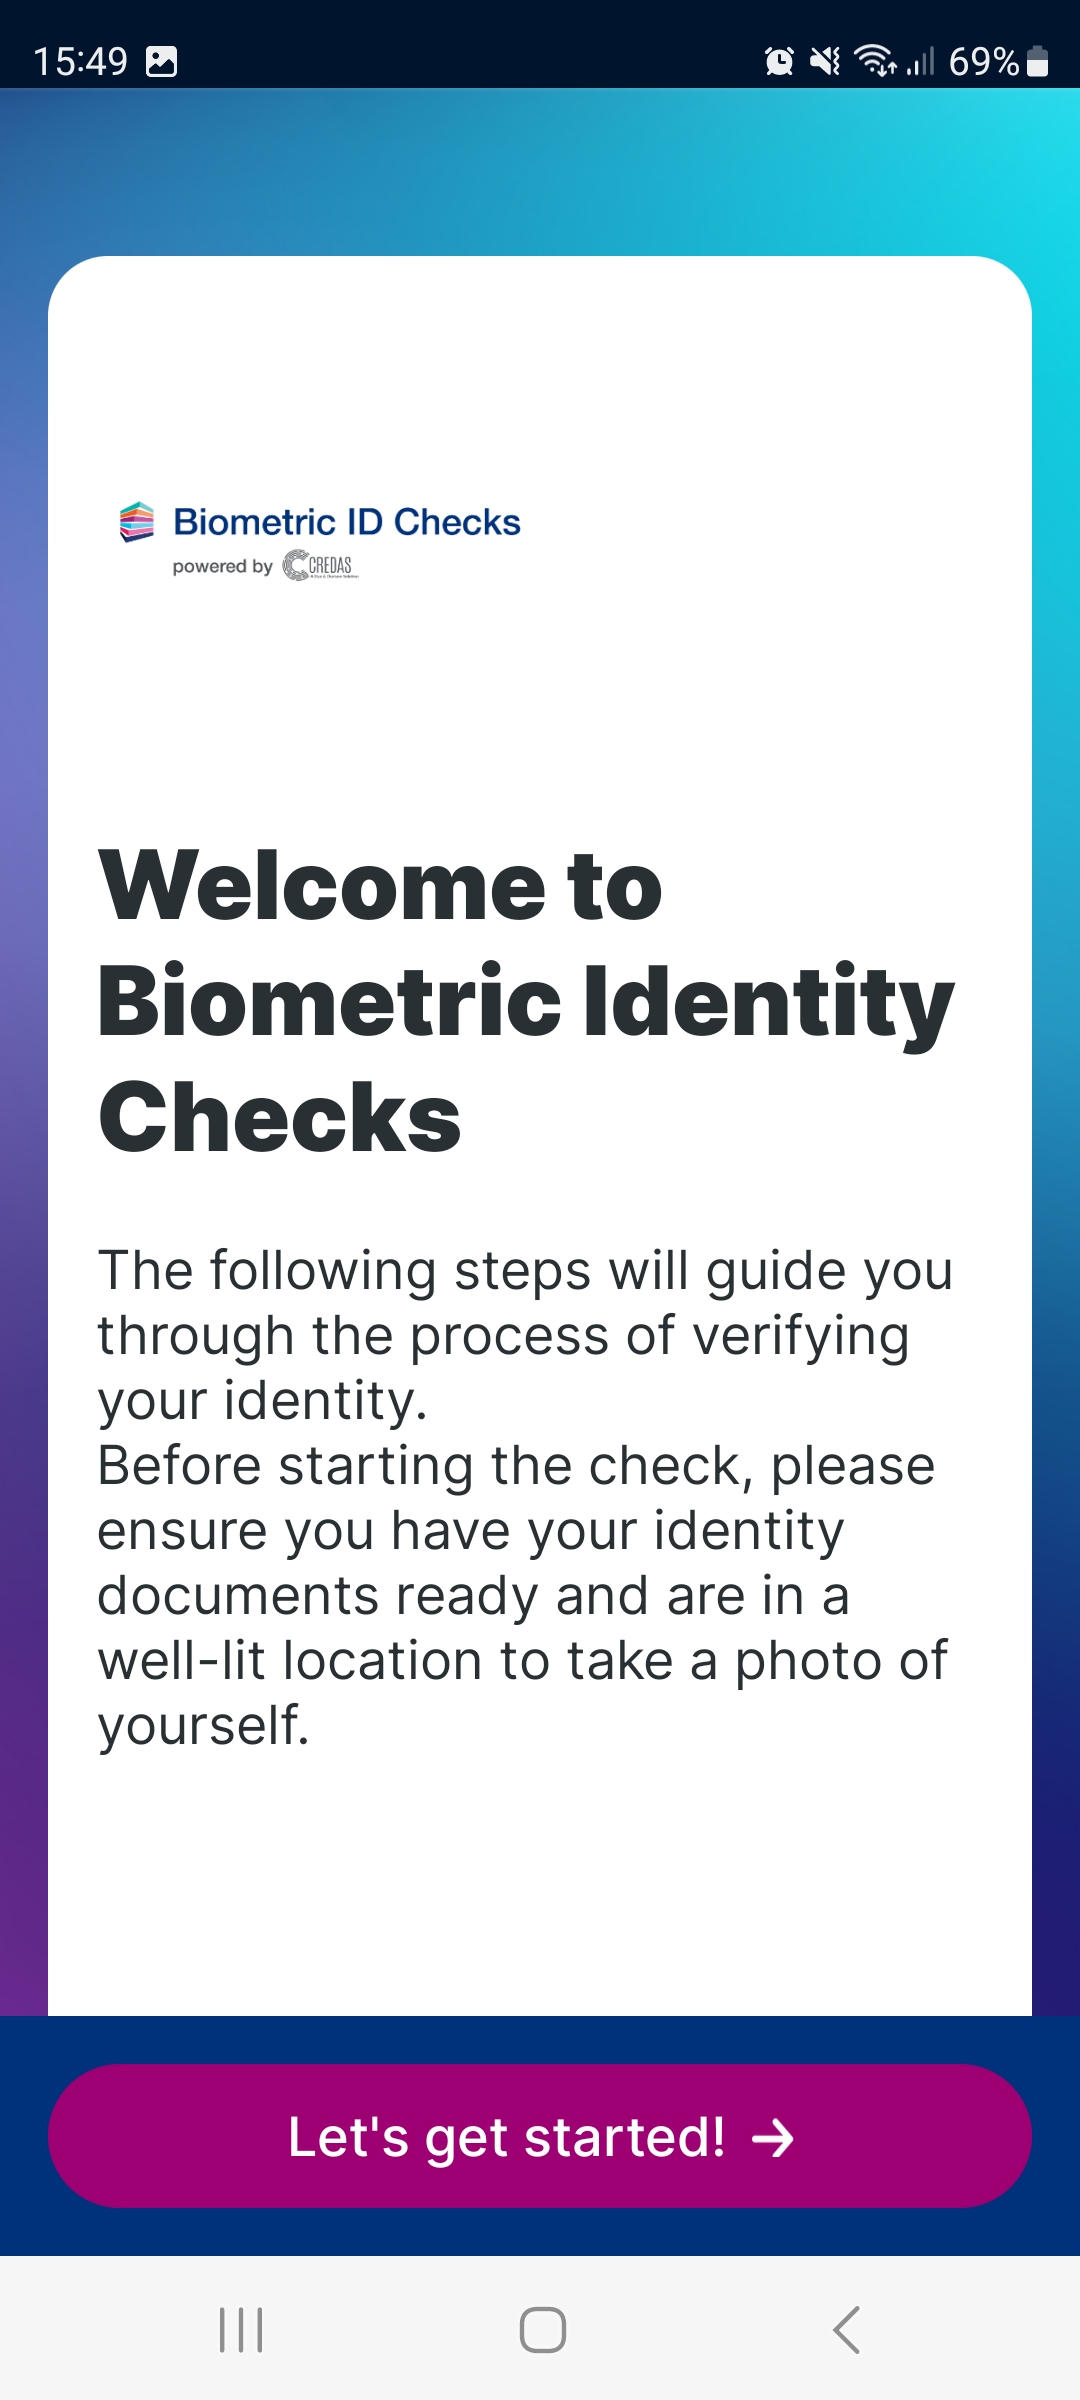
- The next screen reminds your client to have identity documents ready and be prepared to take a selfie:
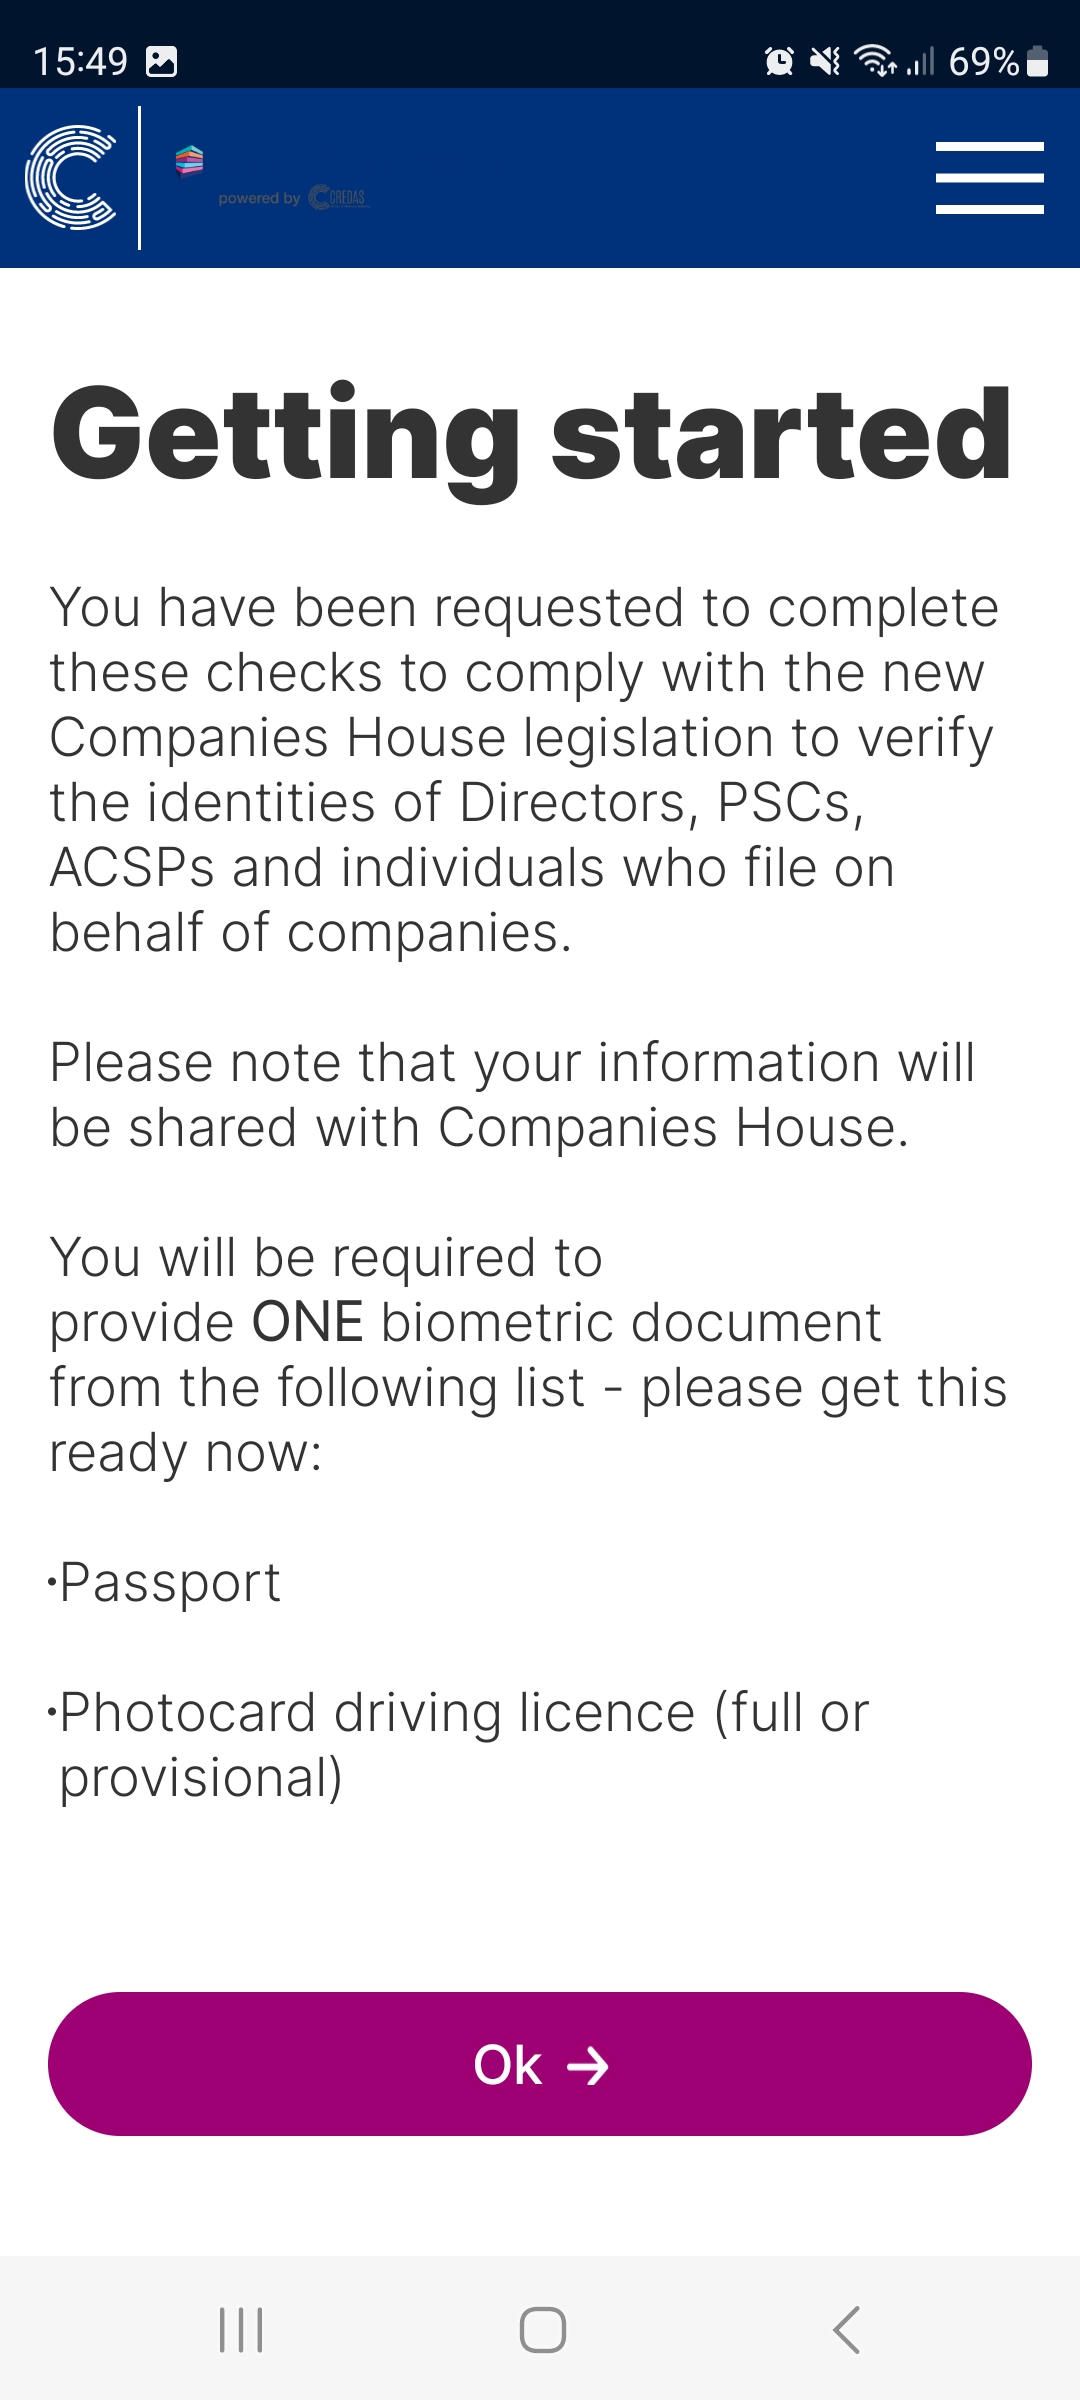
- The next screen explains why the check was requested and what documents can be used for the particular check:
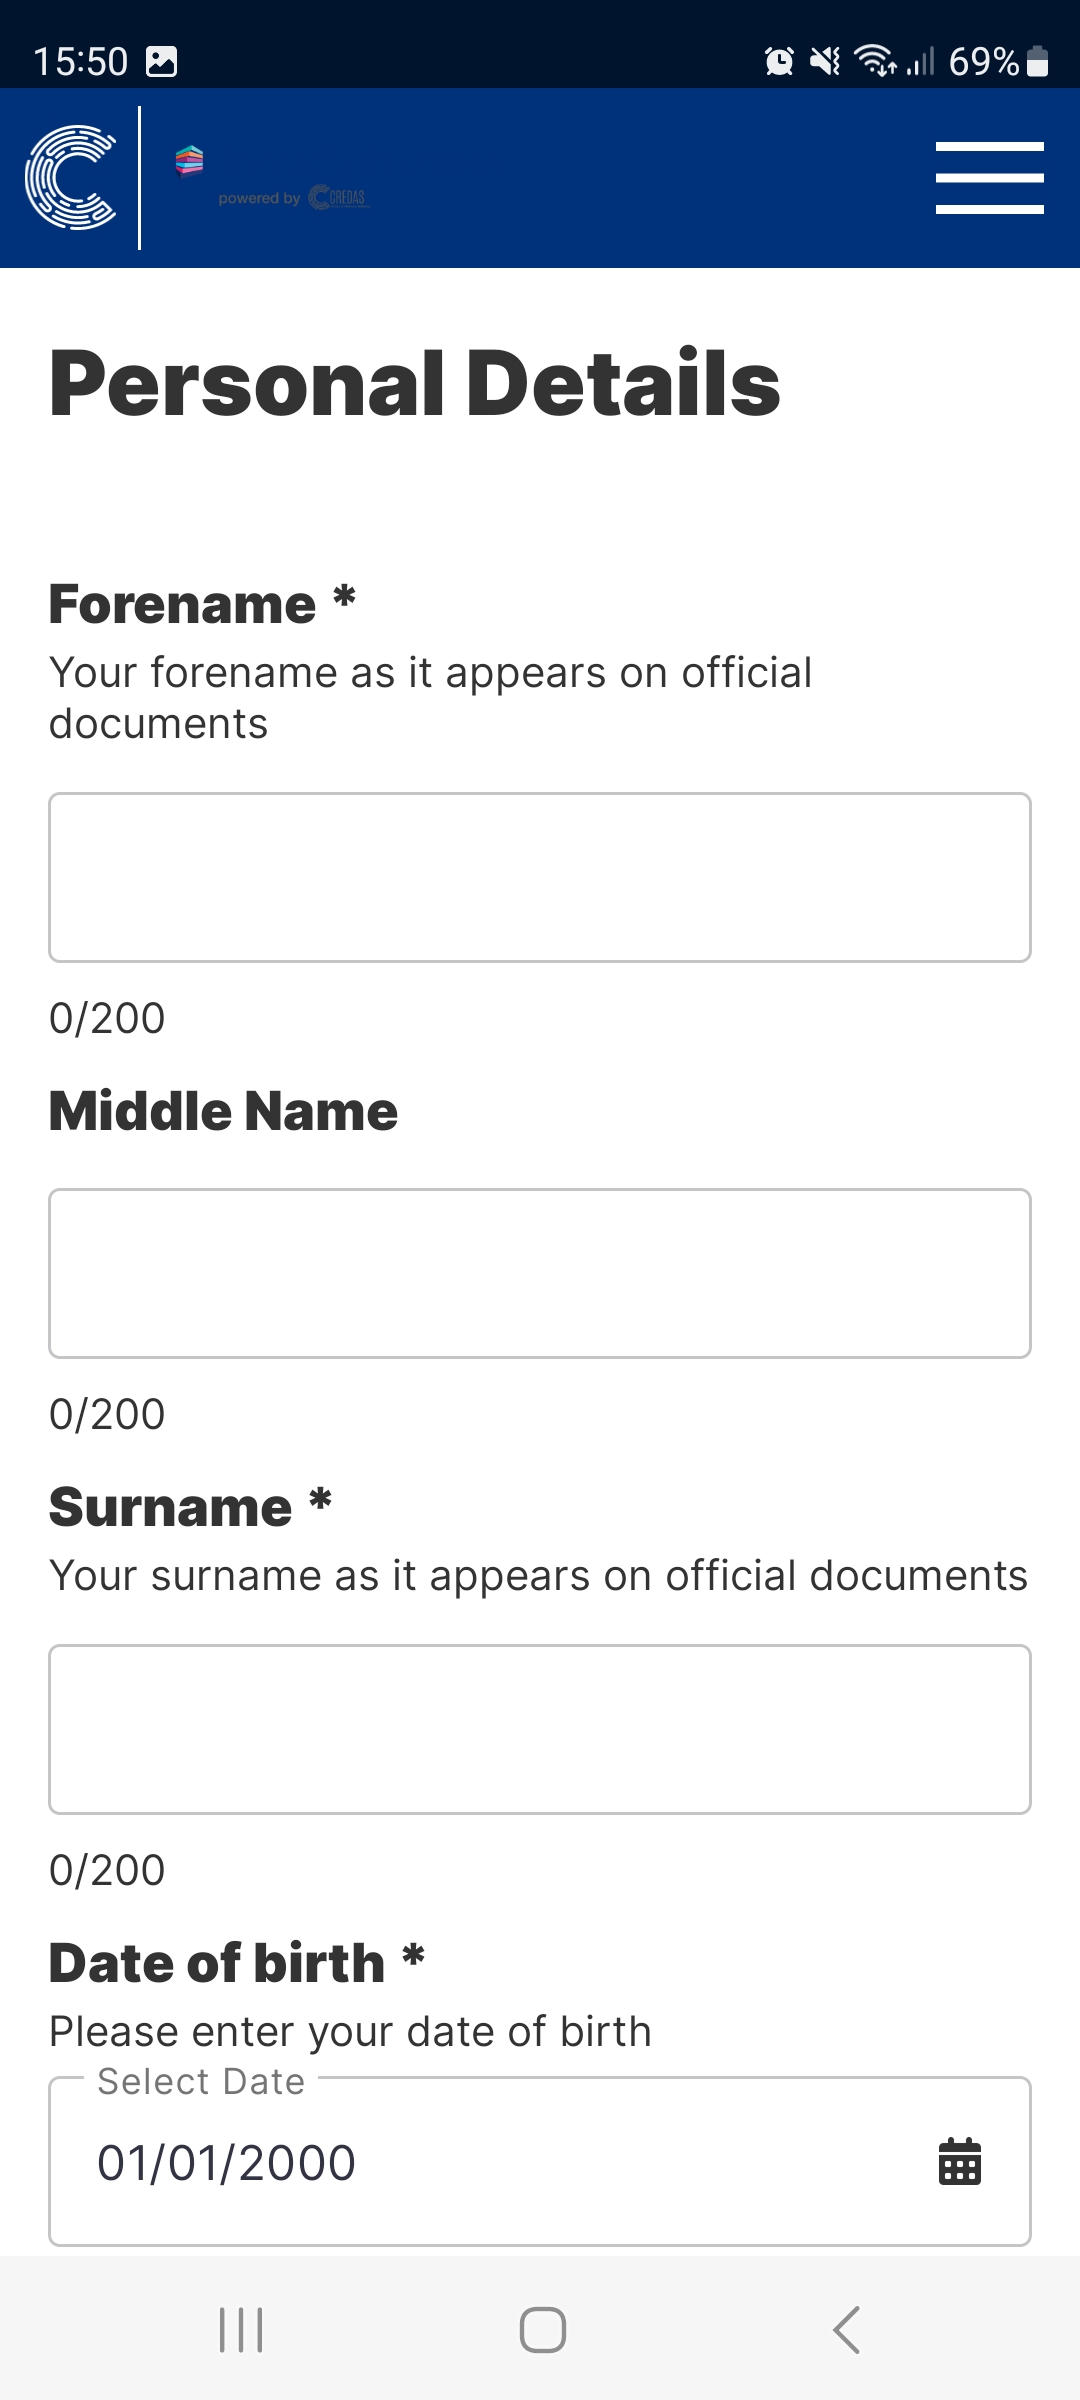
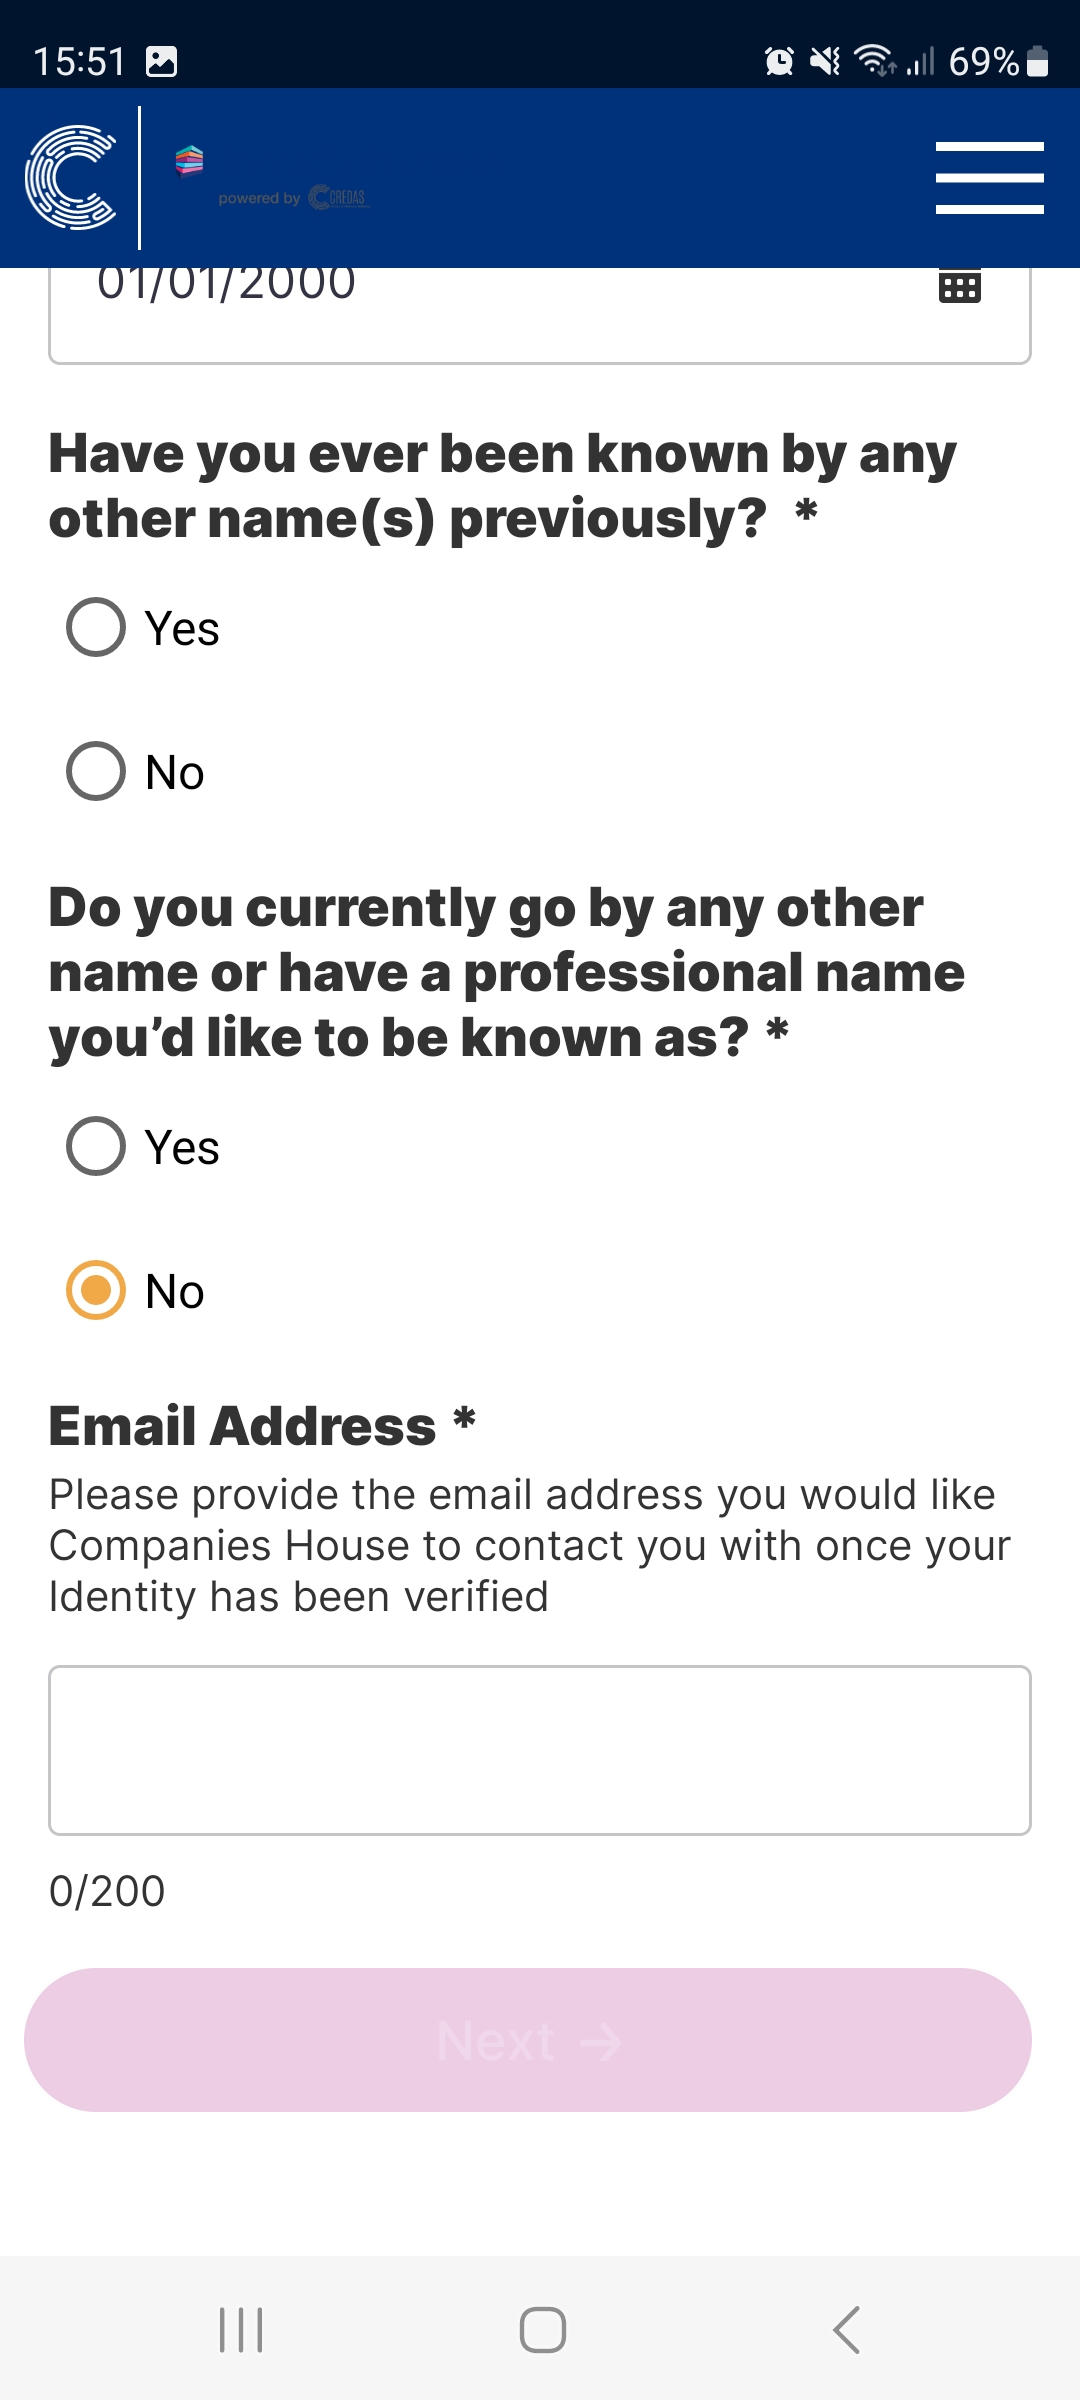
- Then your client has to input their personal details:
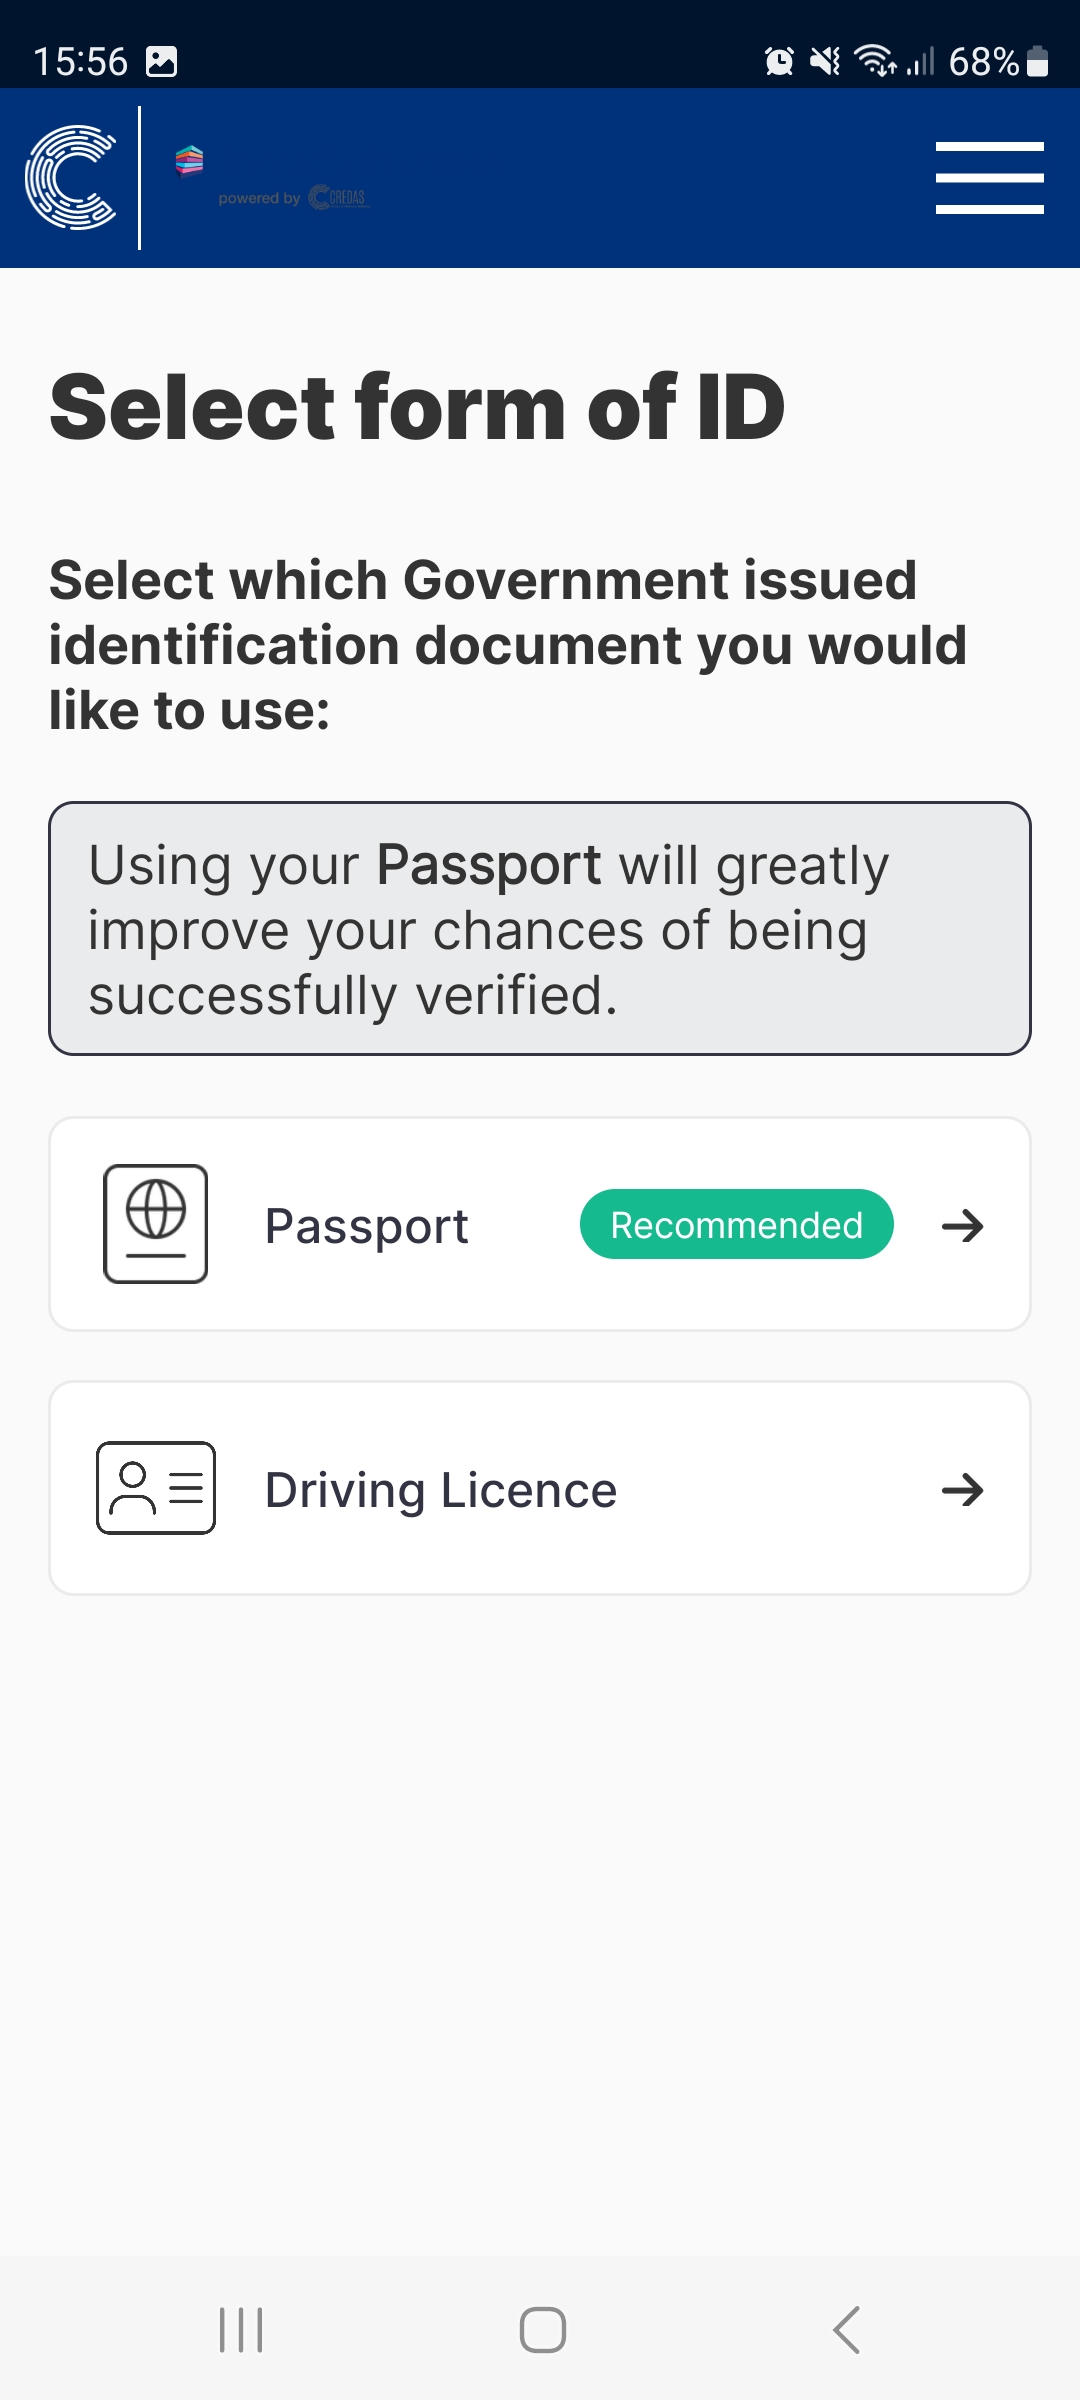
- In the next step your client will select which form of ID they would like to submit:
- There will be onscreen instructions given on how to take the best photograph of the document:

- Now it’s time to take a photograph of the document using the outlines provided as guidance. There is always a chance to review and retake a photograph:

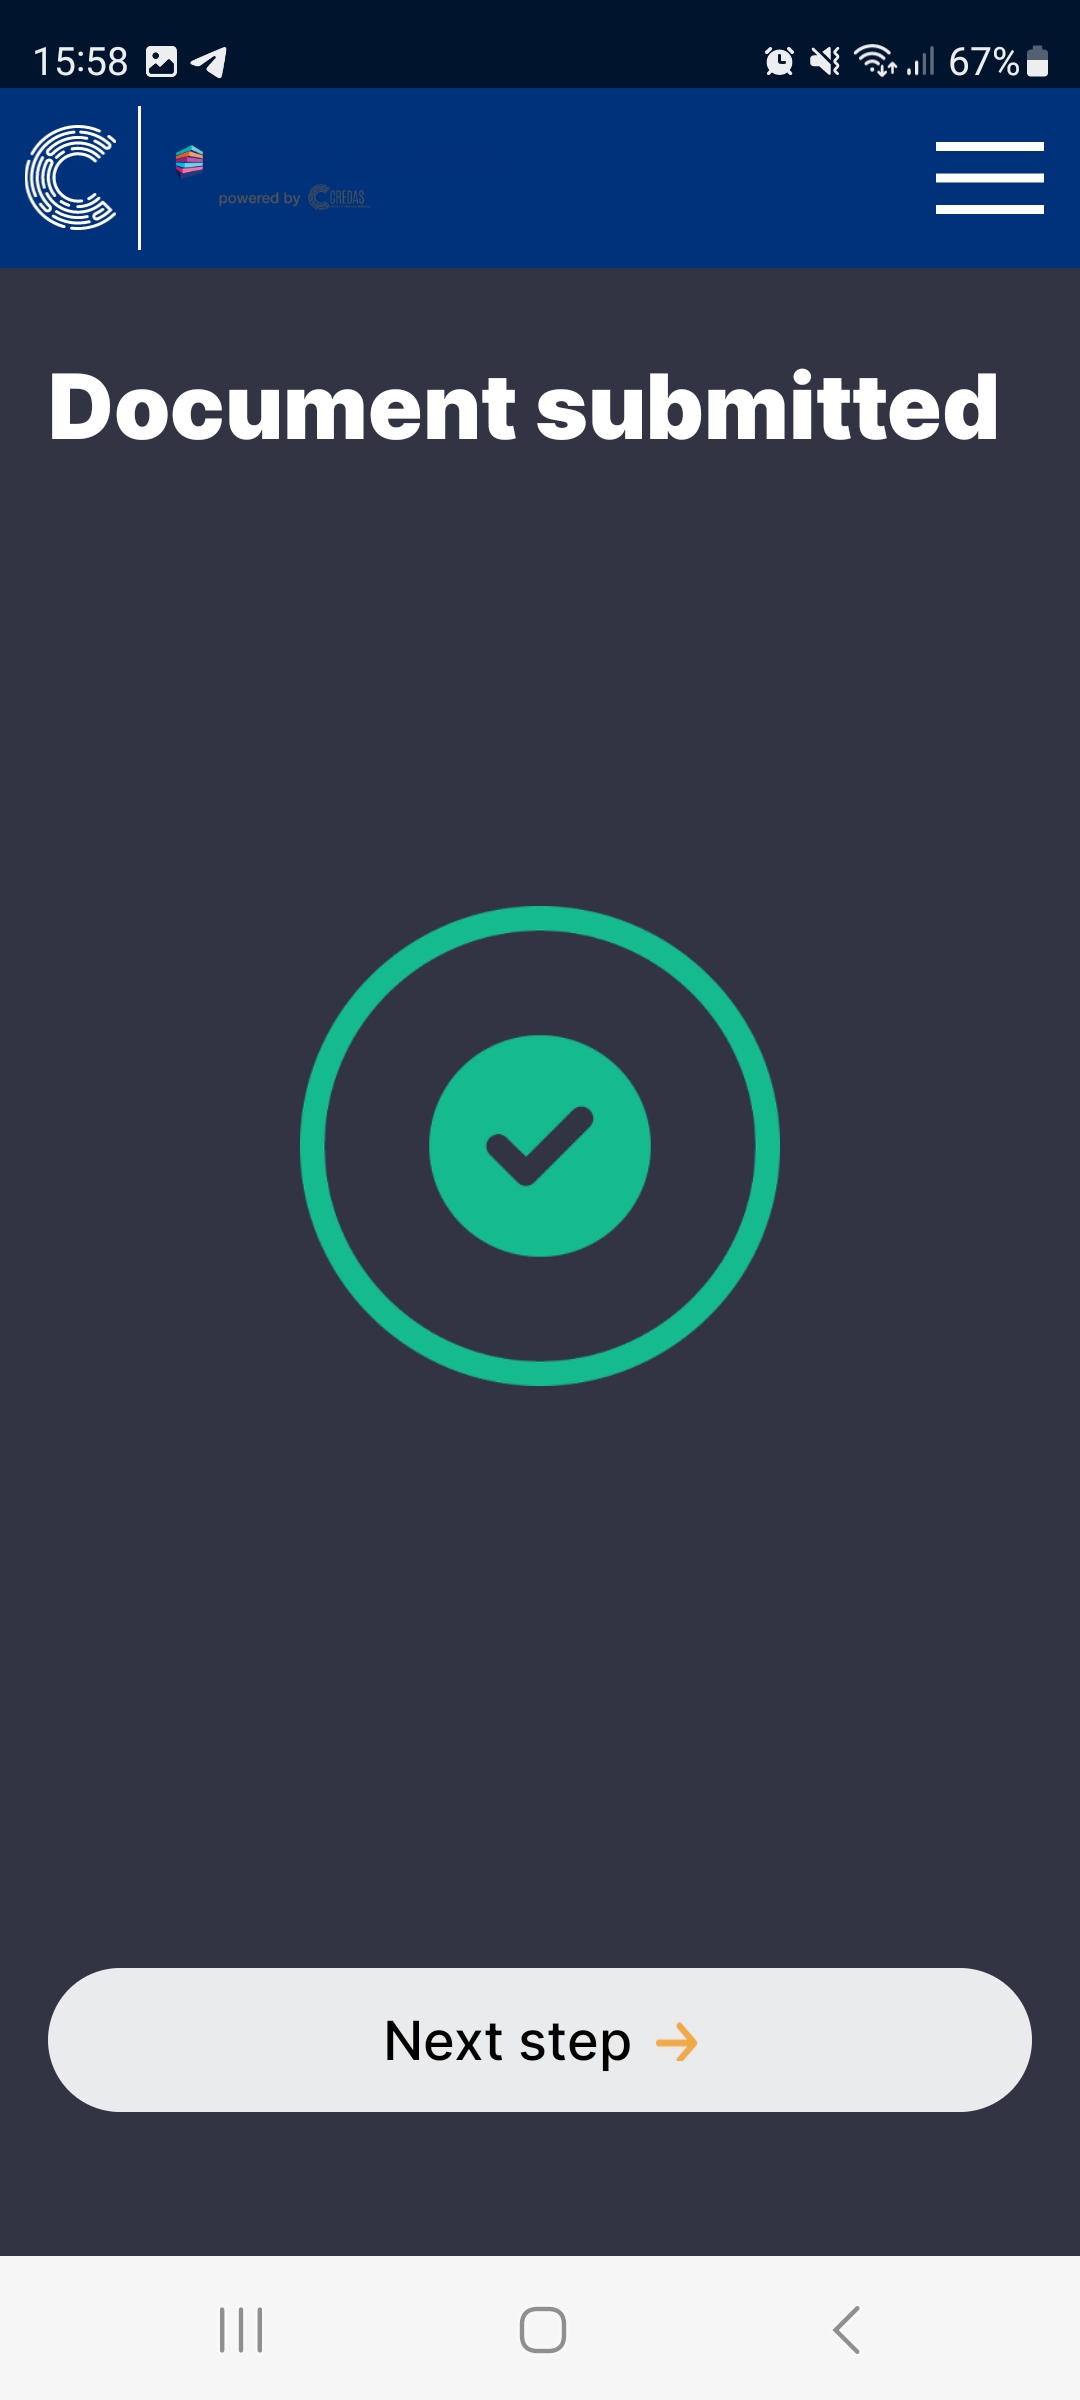
- Once the photograph is accepted your client will receive the following message:
- If your client has selected to use their passport as their identity document, during the next step, they will be asked to scan the NFC chip using contactless technology - holding the phone in physical contact with the passport, with the phone on top of the passport just as they would when completing a contactless payment.
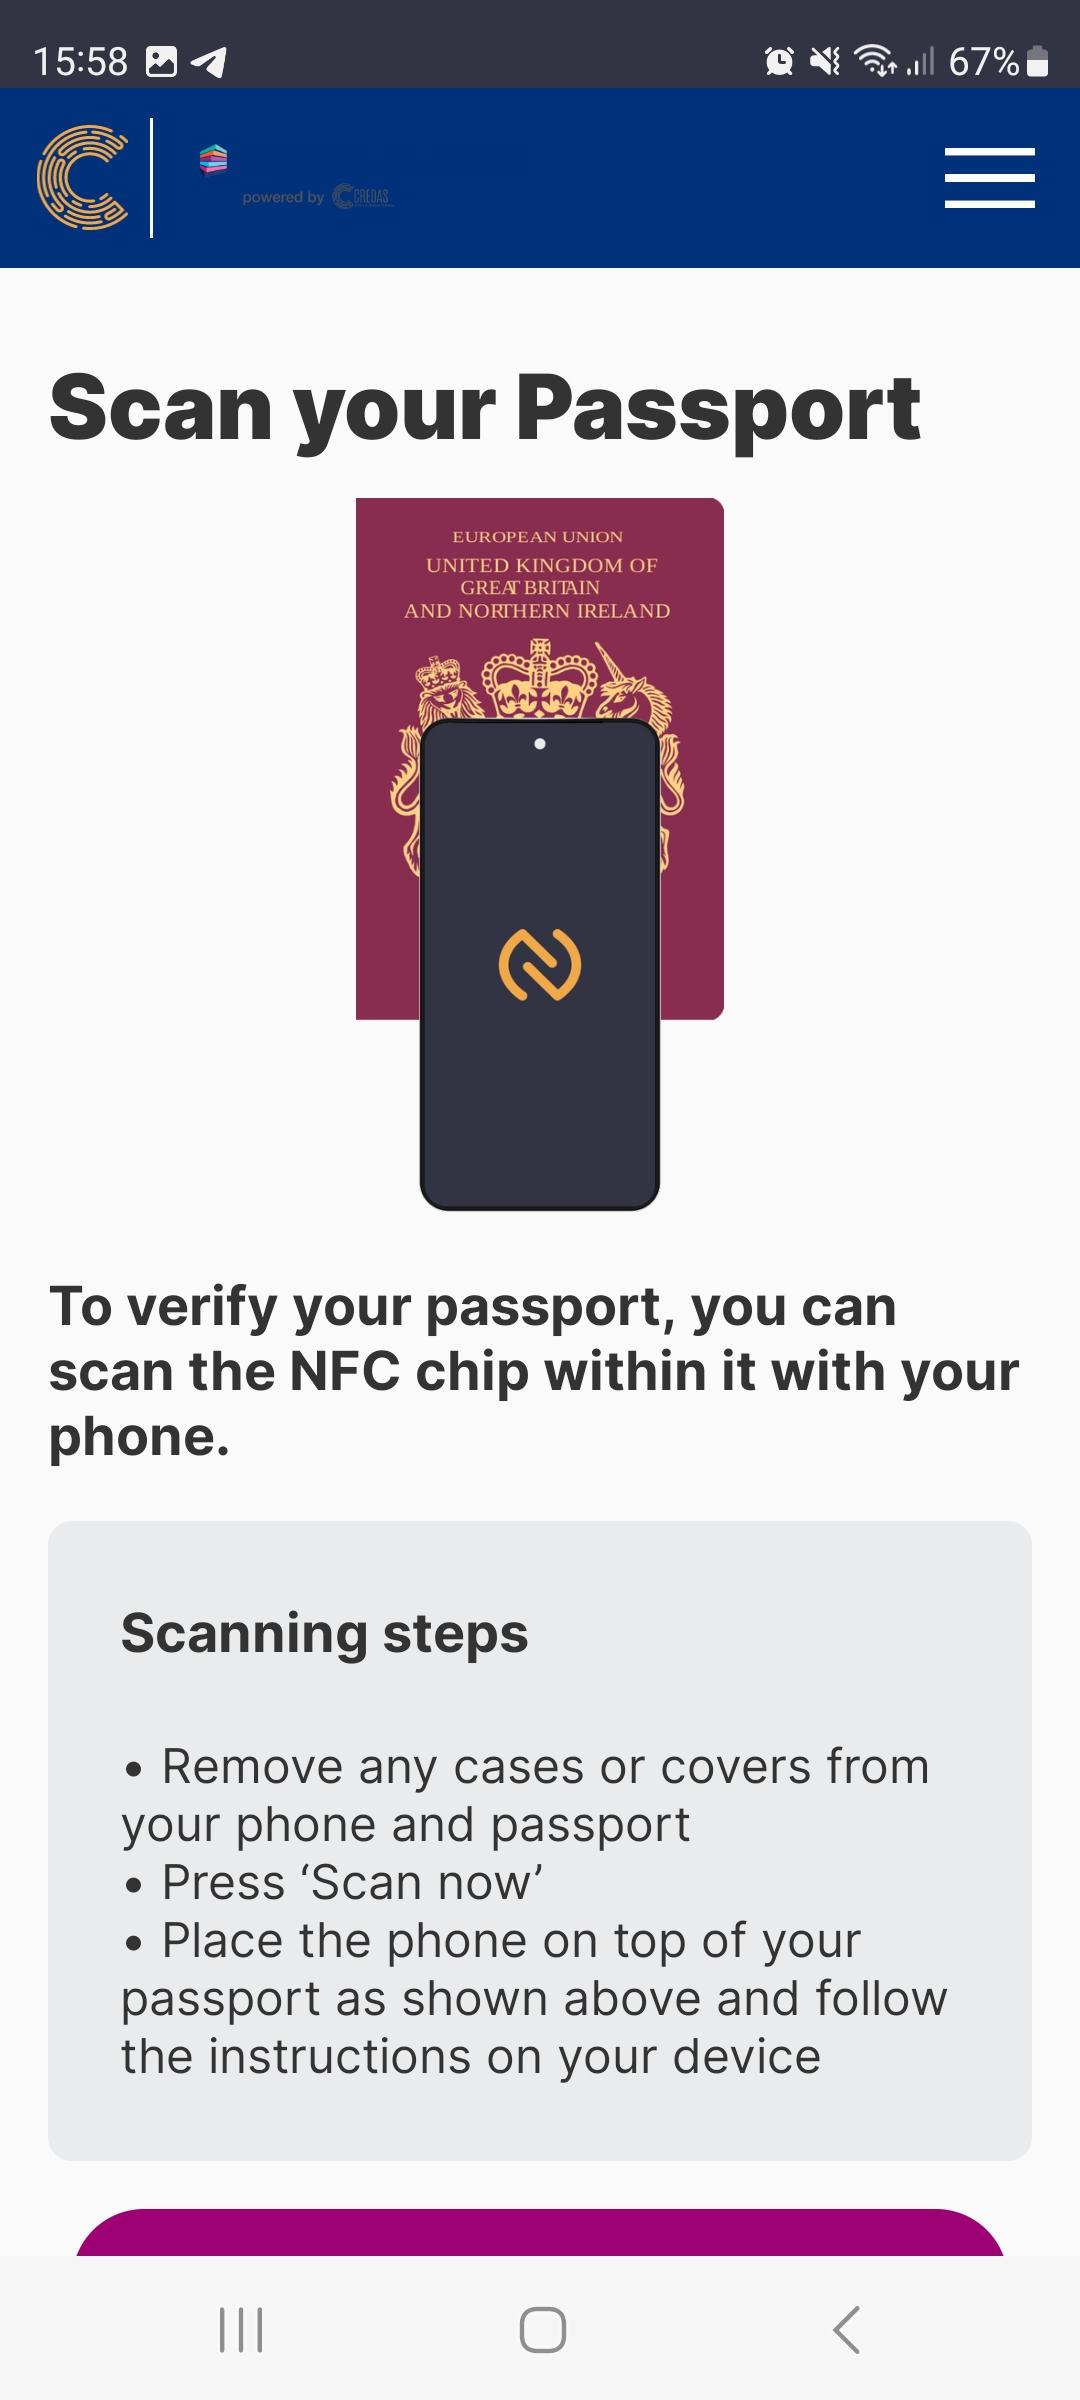
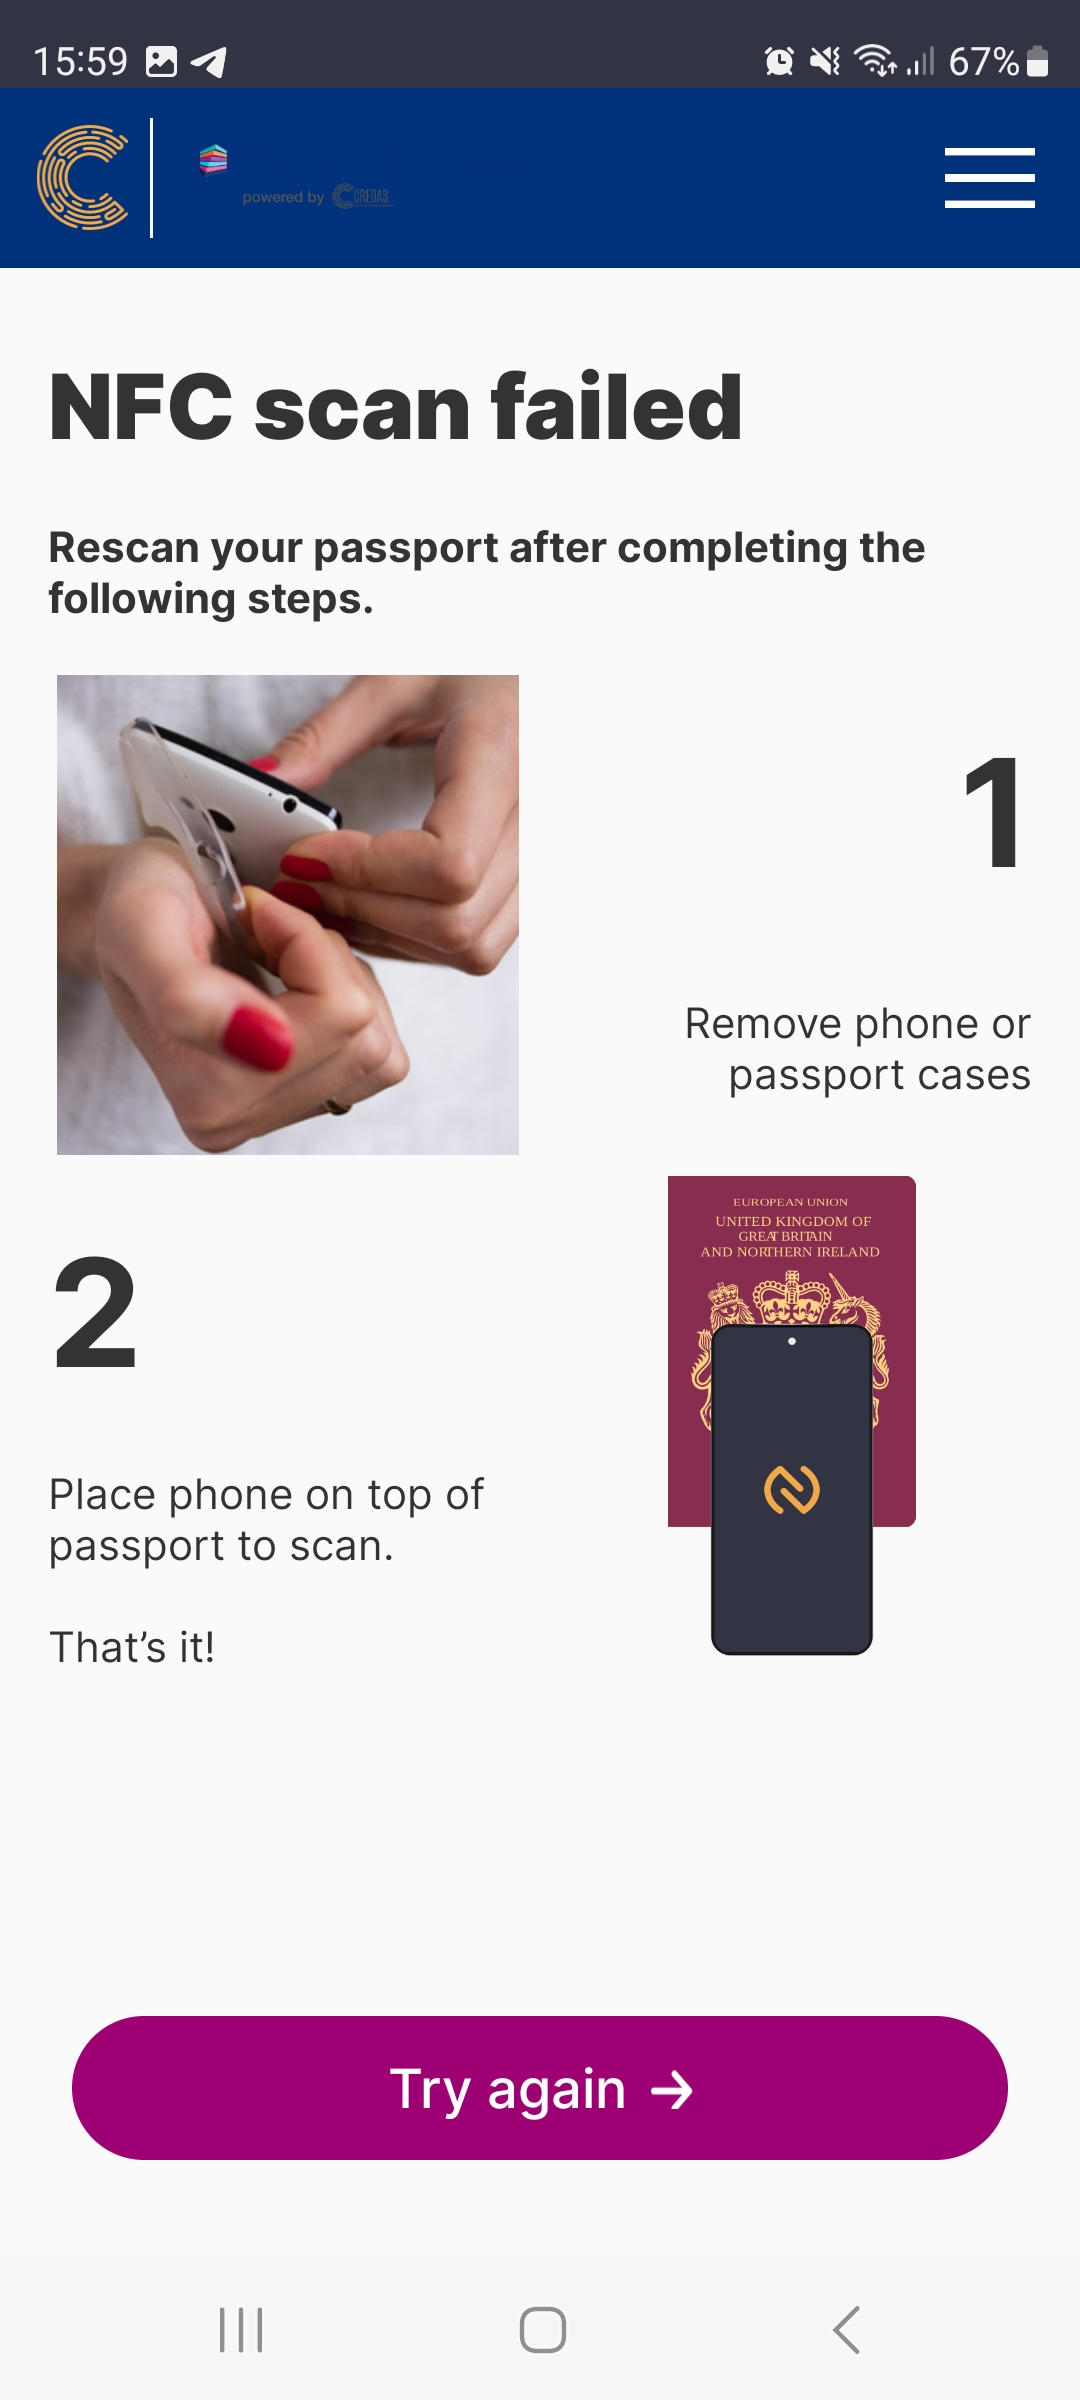
- Onscreen instructions are provided during the chip scan:

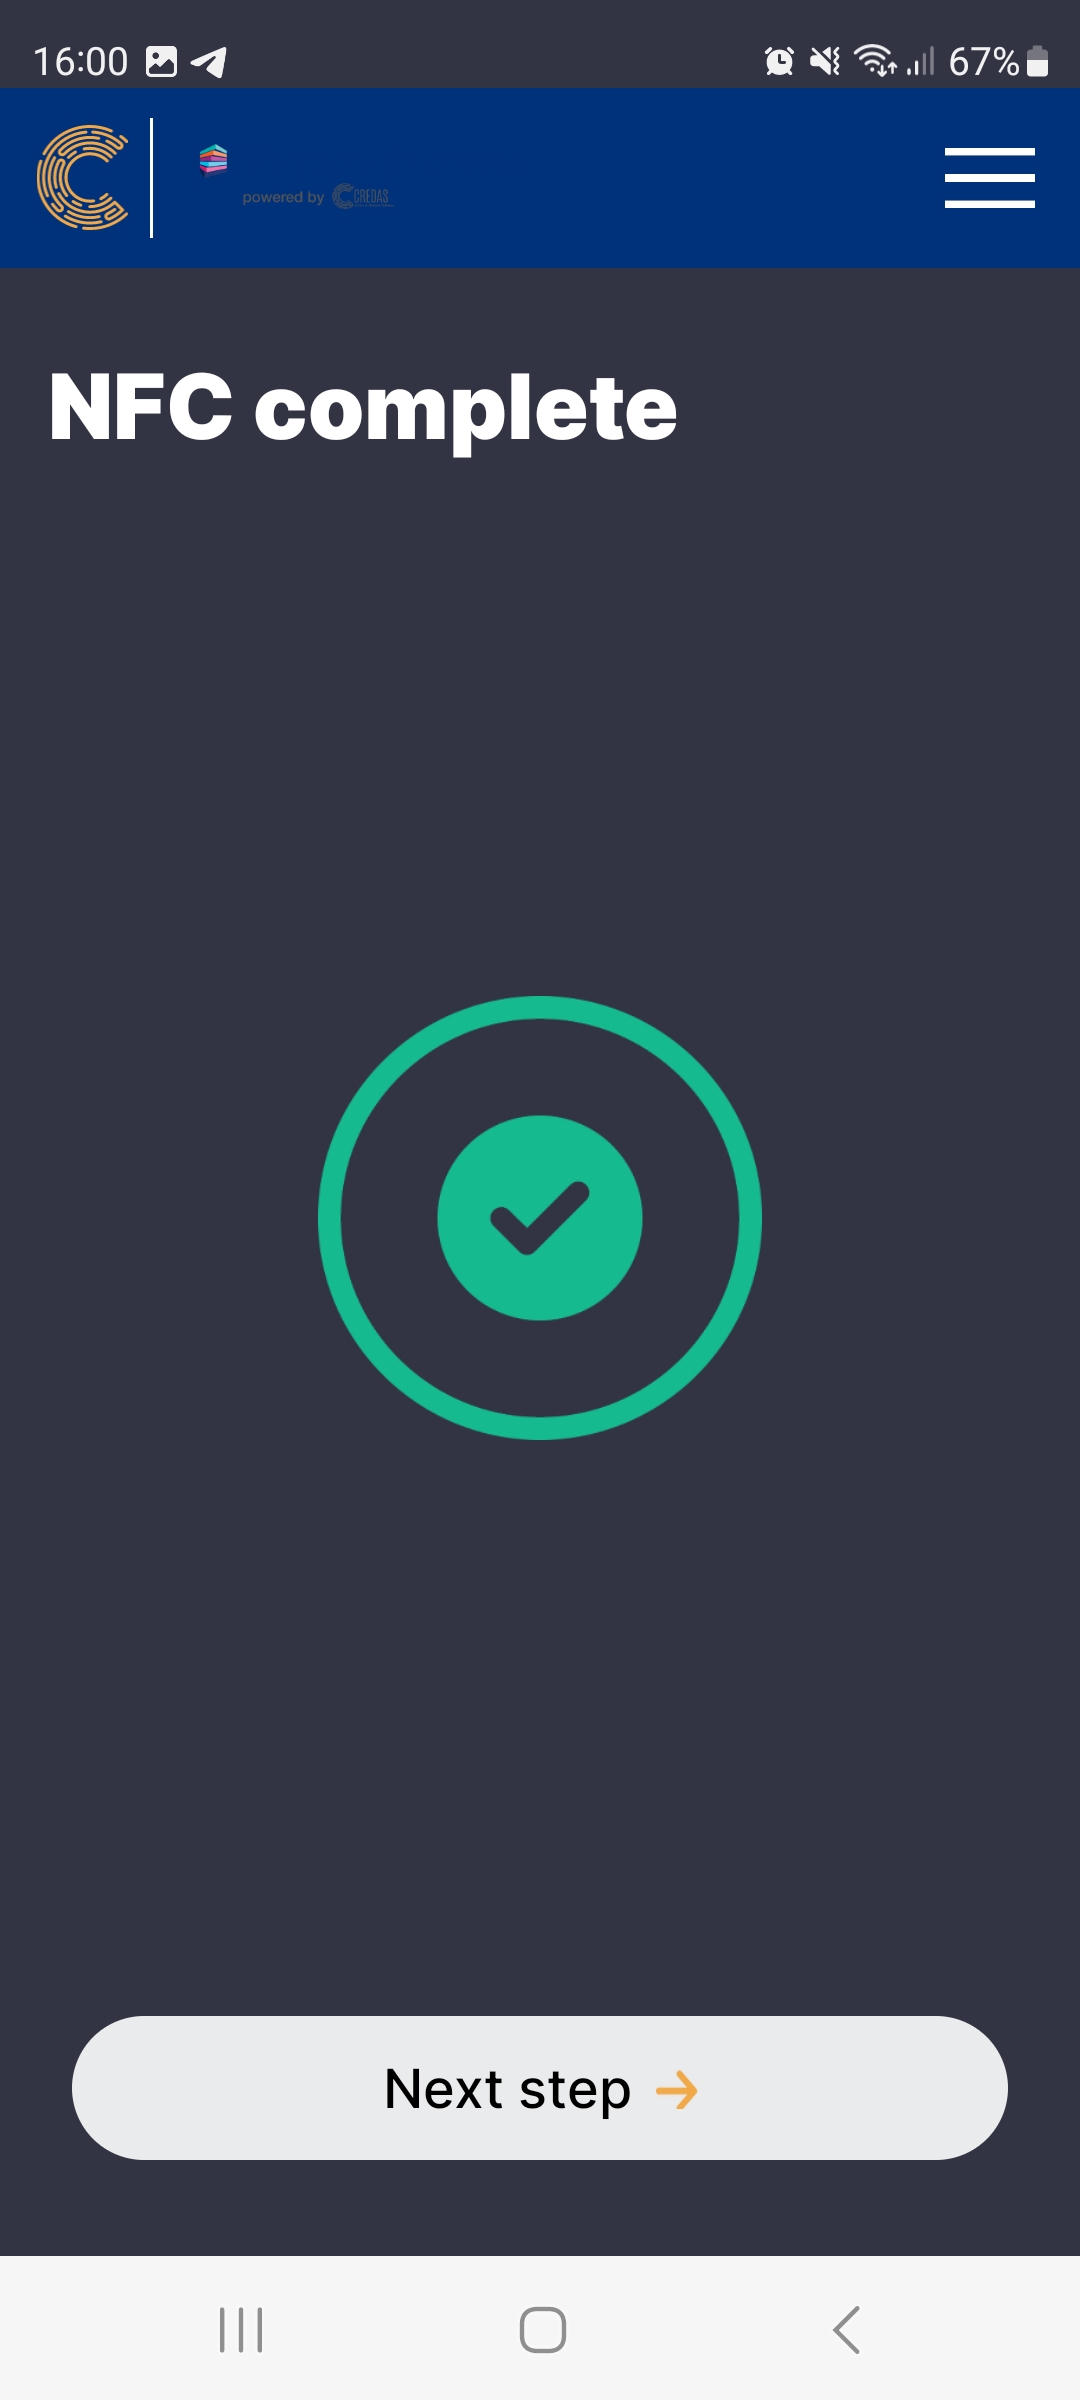
- Once the scan is complete, your client will receive the following message:
- Your client will now be asked to take a selfie to confirm they are live and present:
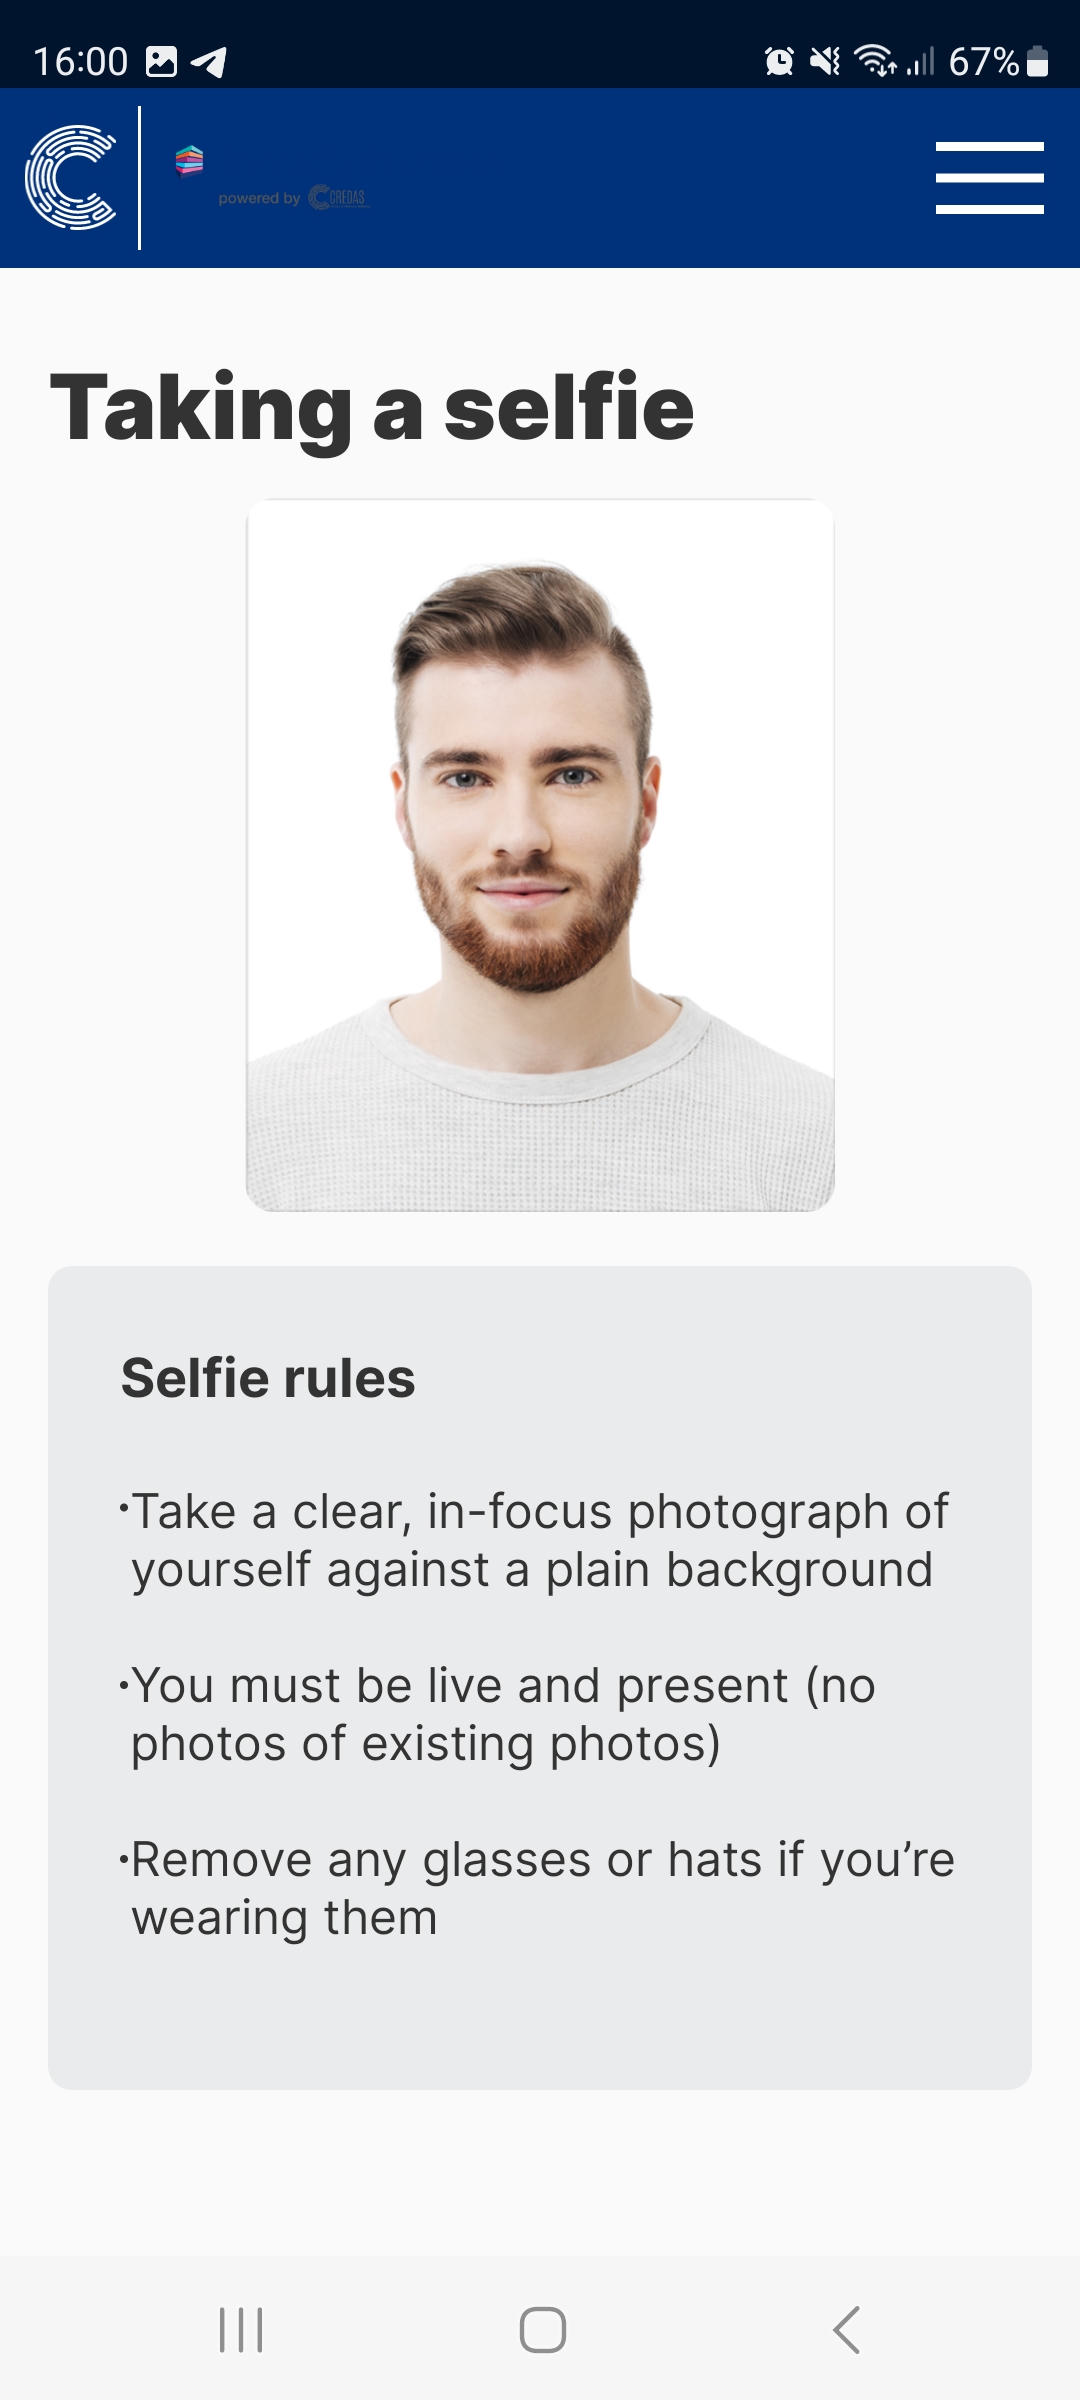
- The guidance on the screen will help them to take the best picture possible, ensuring the eyes and face line up with the gridlines. Once the picture is taken, your client can review and retake it before submitting:

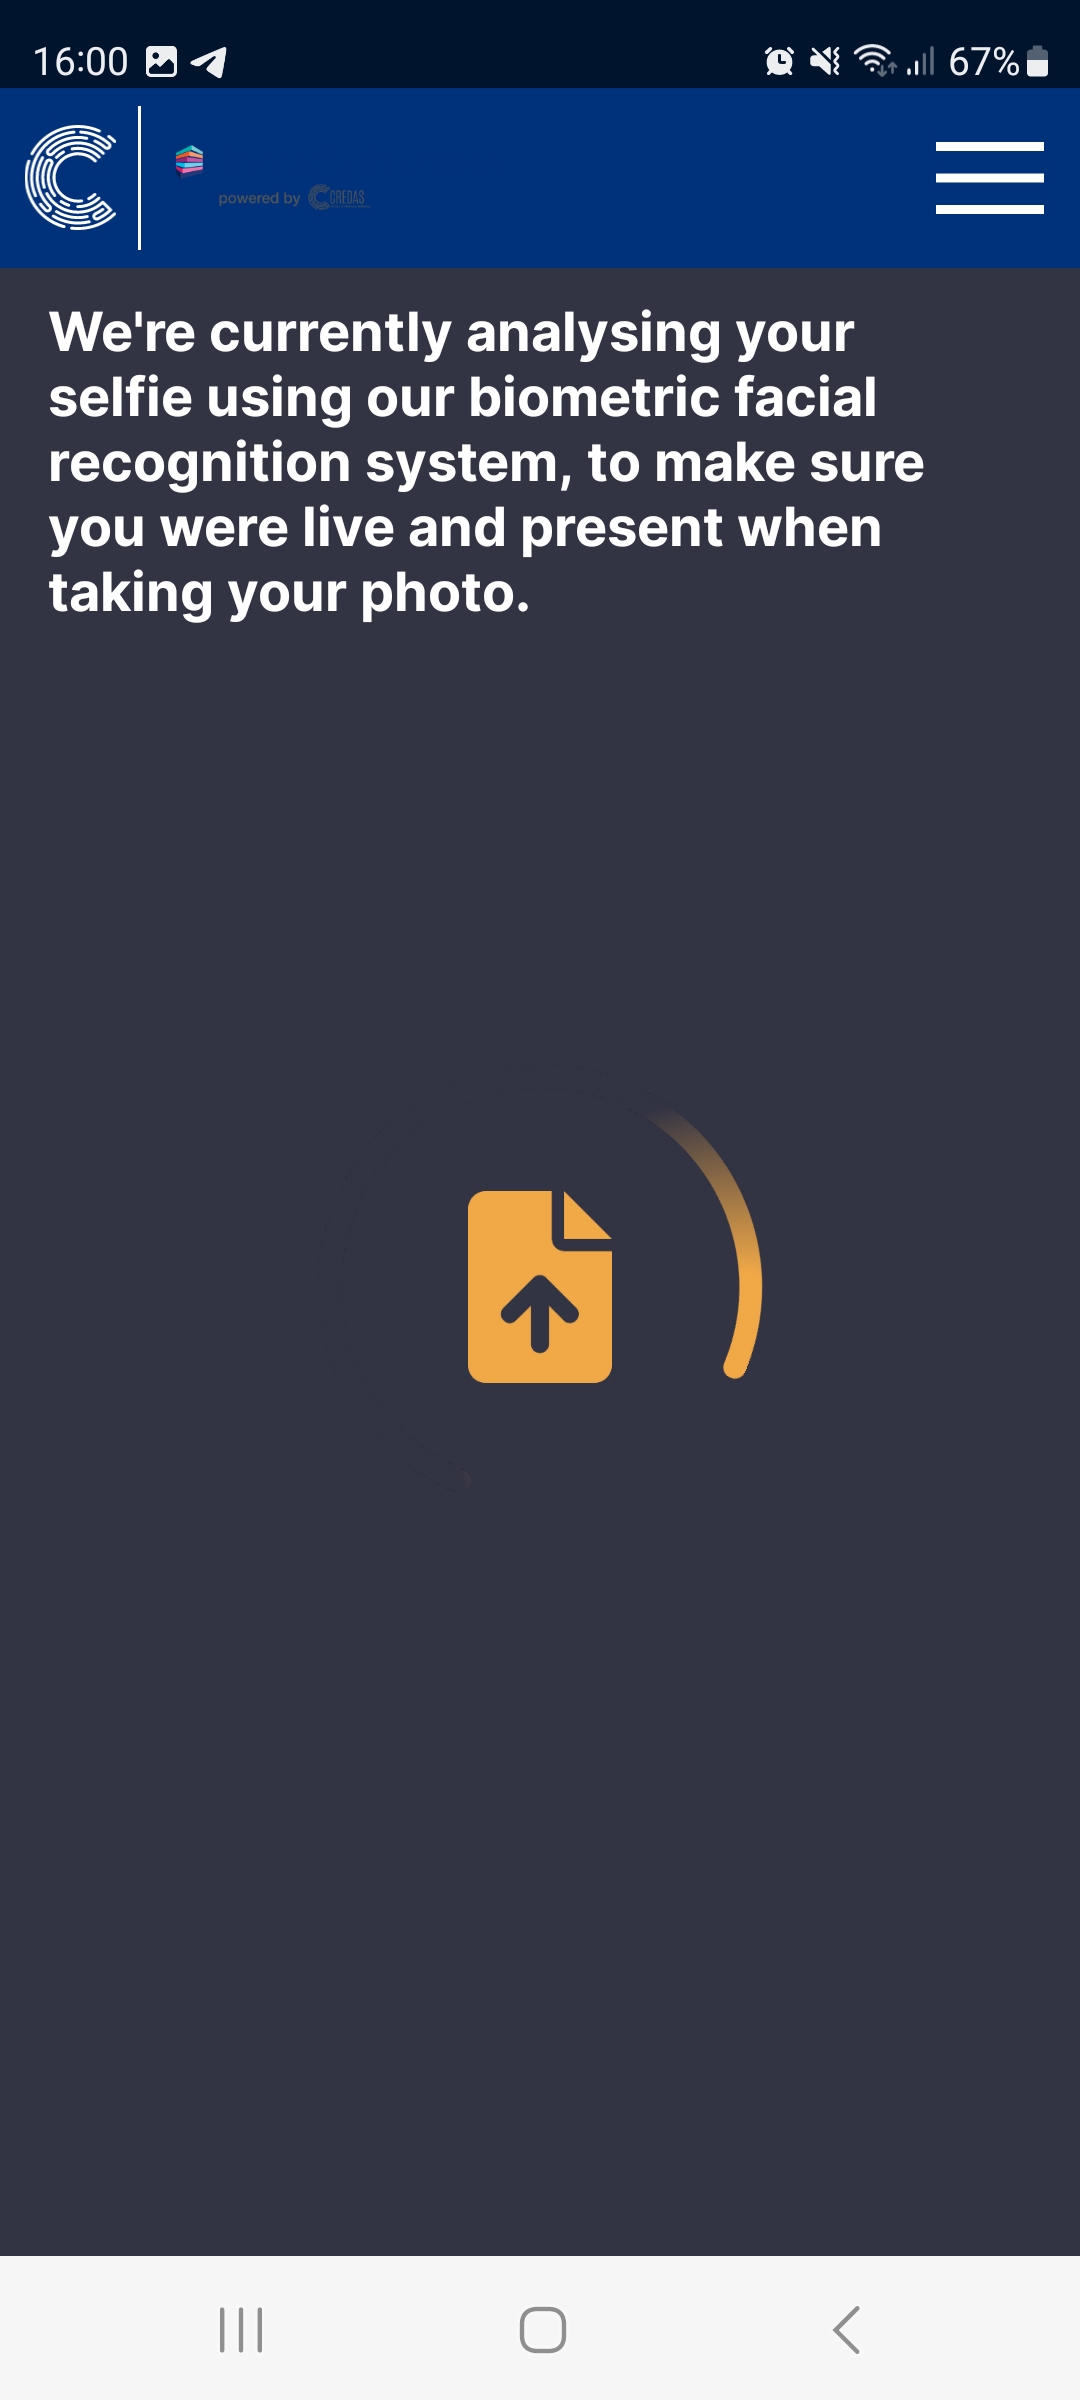
- It make take few seconds for the selfie image to pass initial checks:
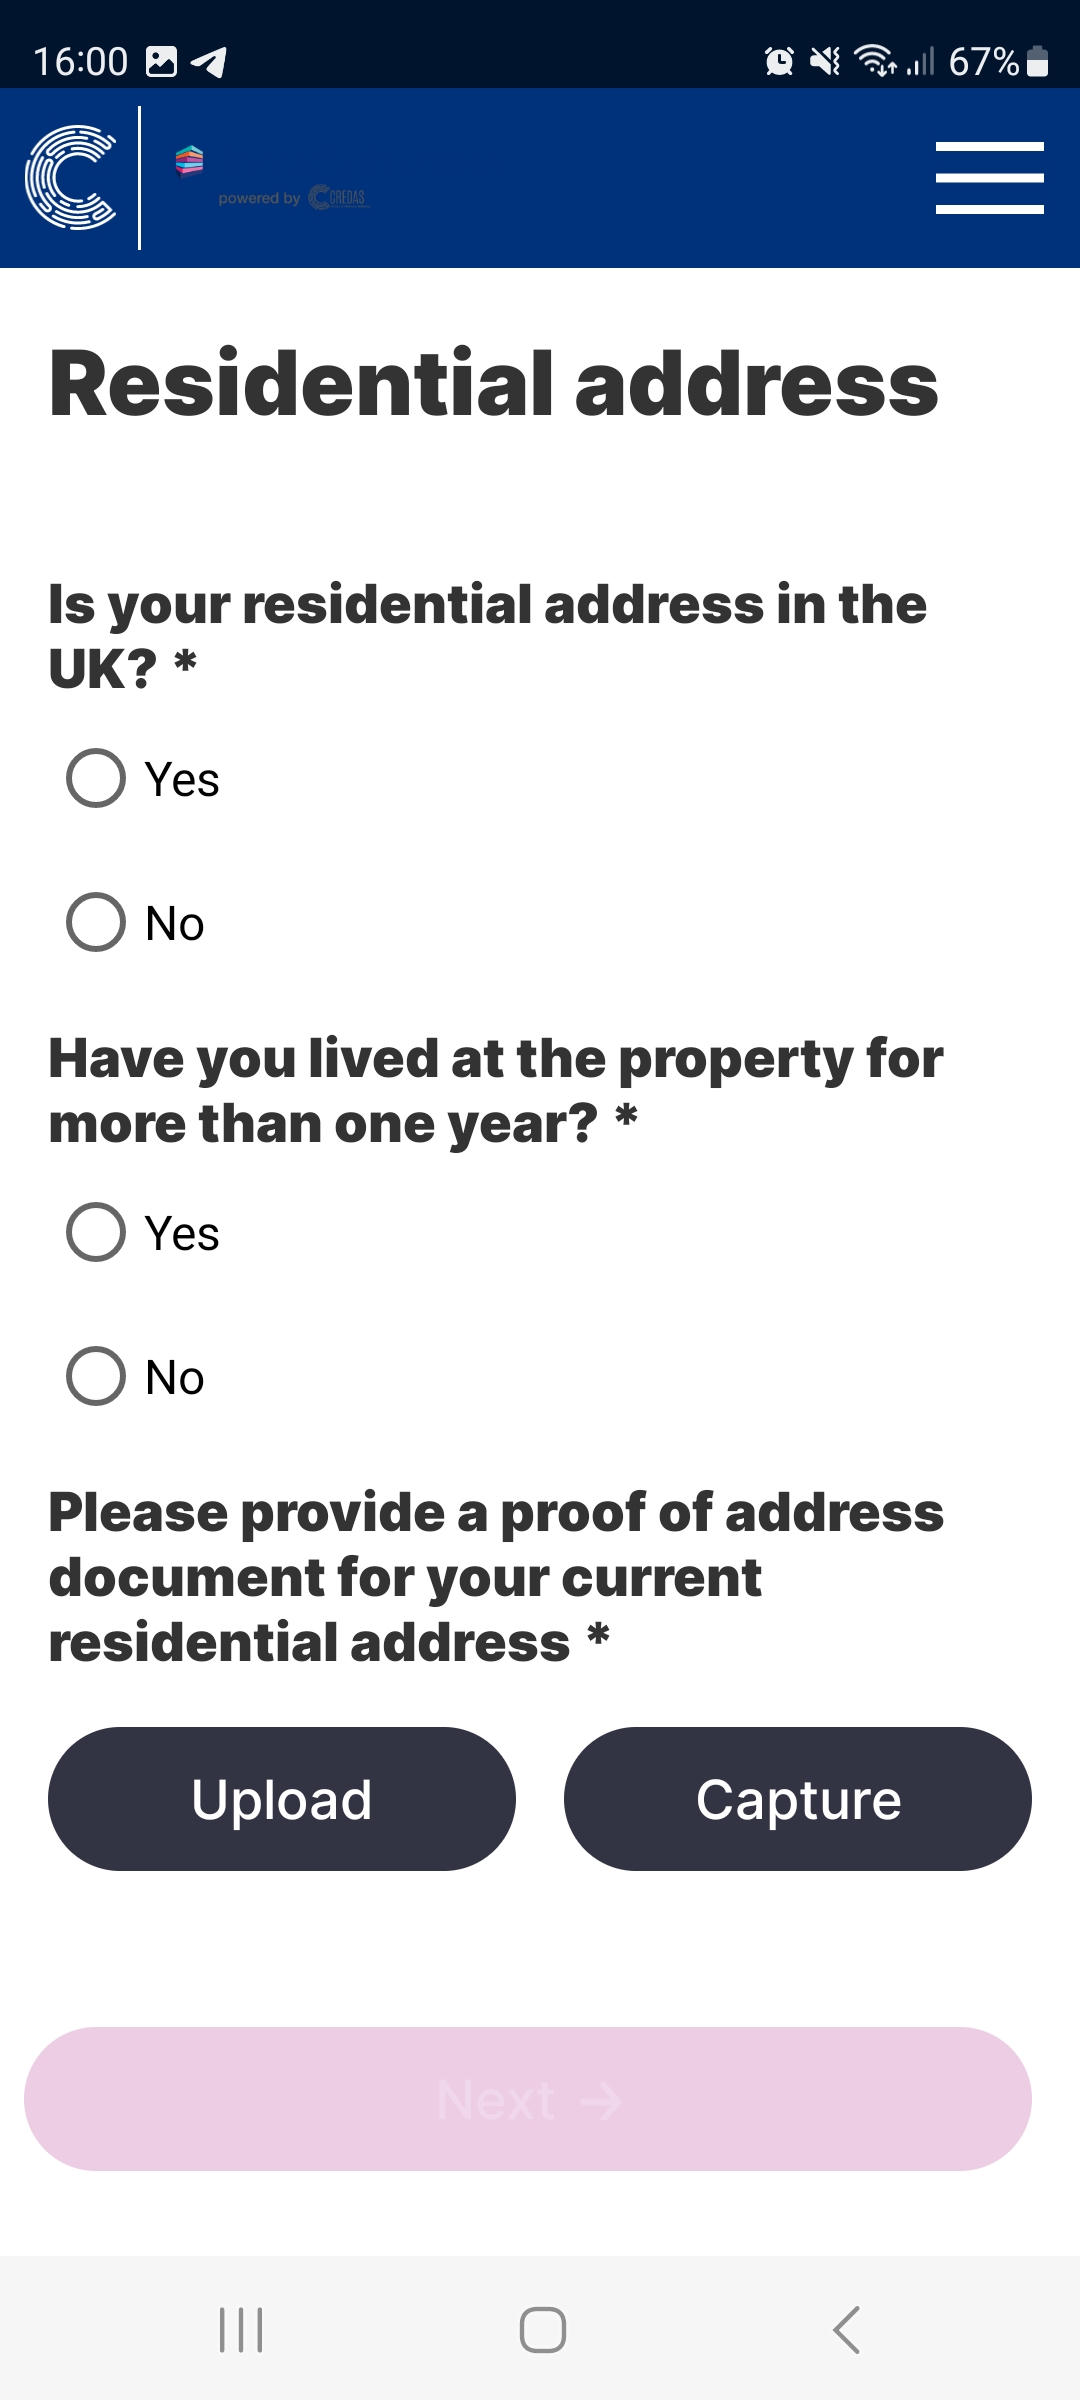
- Then your client has to add their home address. Proof of address document has to be provided during this step:
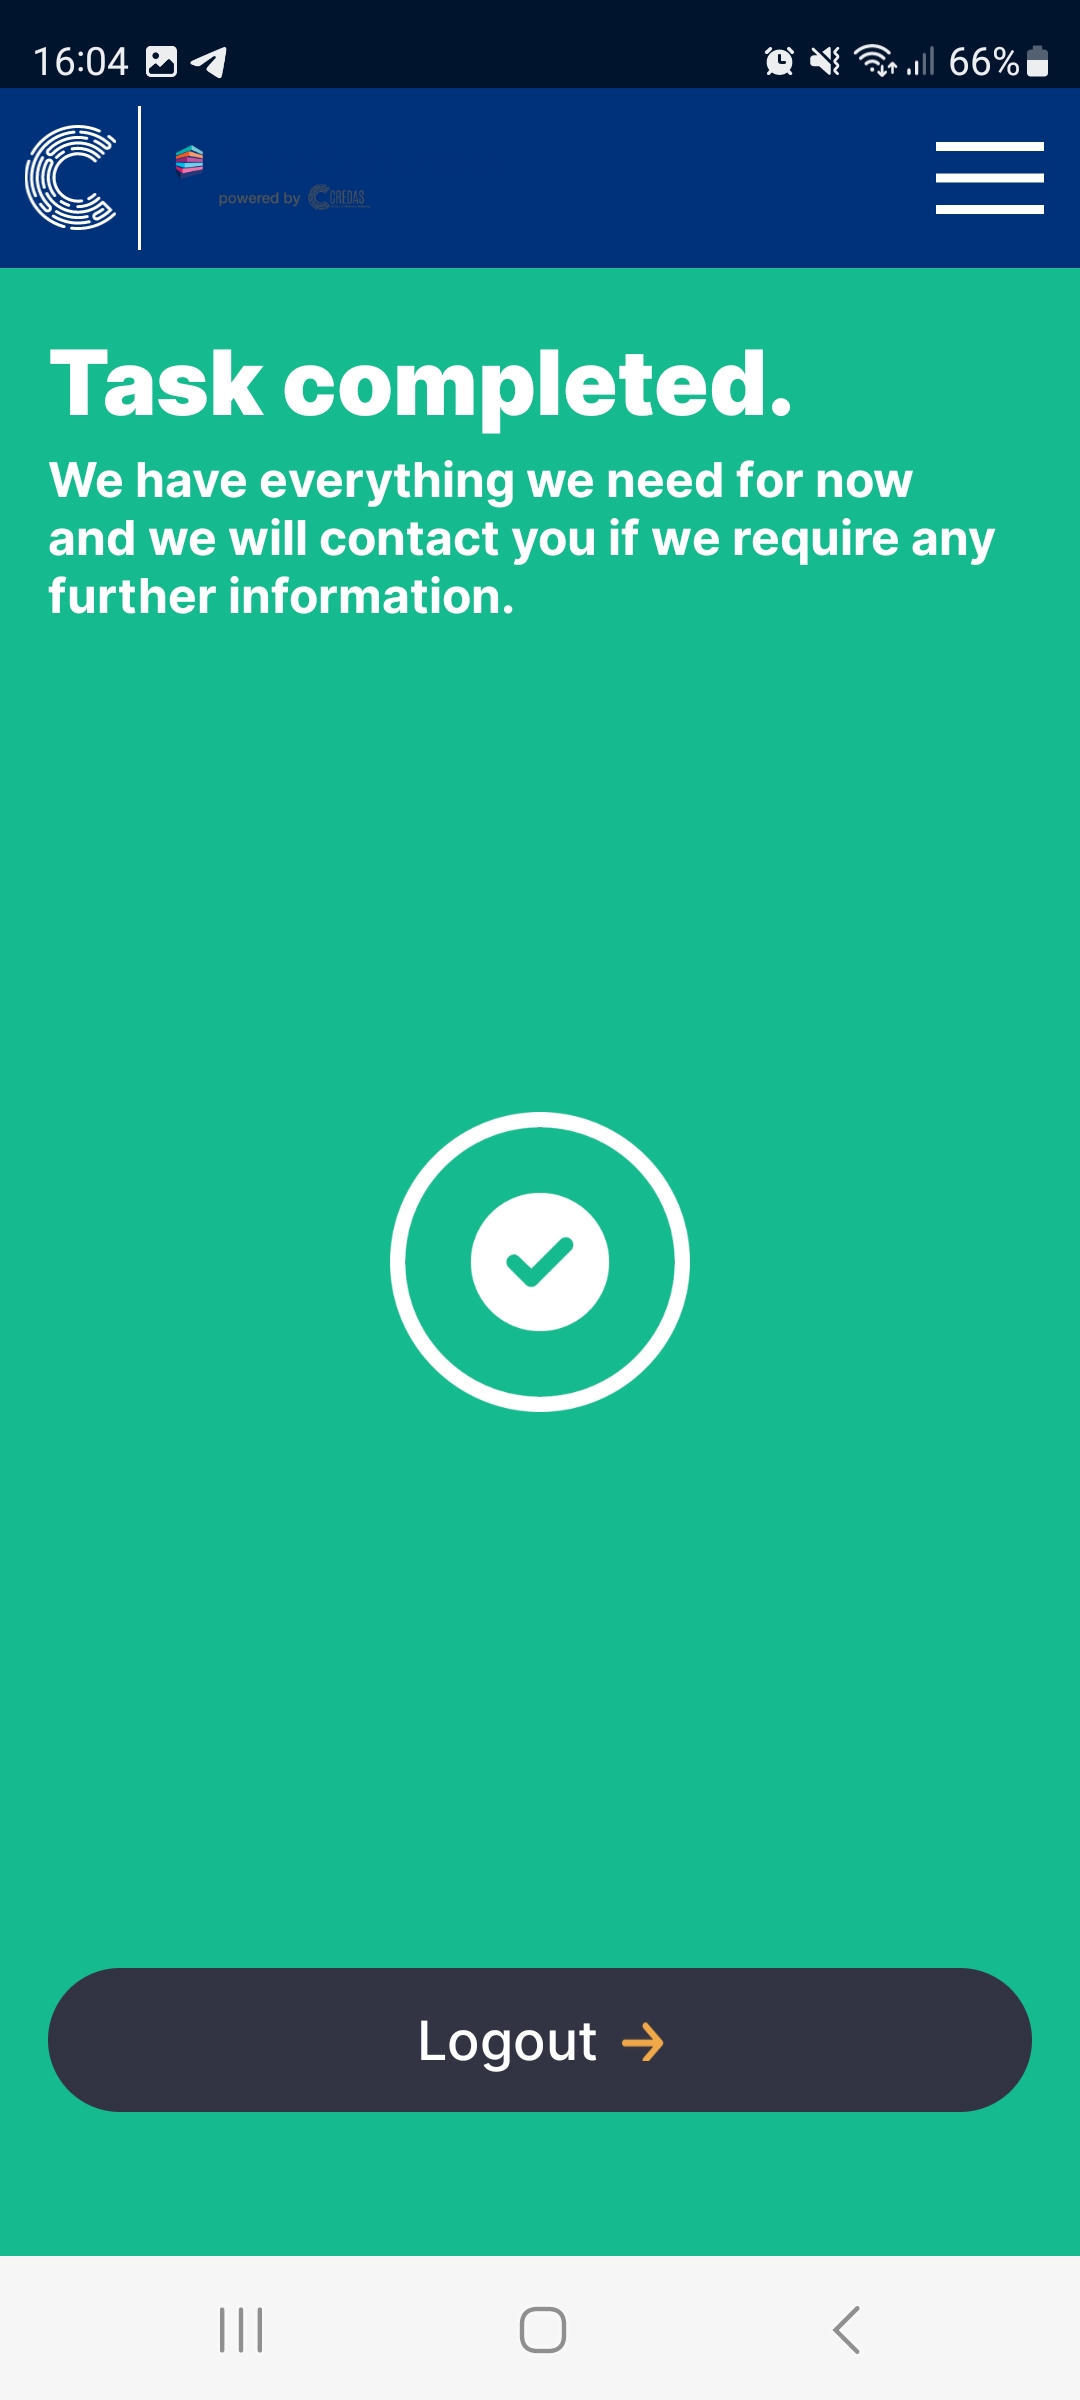
- Once the proof of address document is uploaded and the client selects “Next”, the check is complete and your client can logout and close the app.